MonsterFishRescue
Fish Fanatic
- Joined
- Dec 2, 2007
- Messages
- 89
- Reaction score
- 0
Here's why it'll have to wait for next winter:
1.) Money for this project has been more than drained.
2.) Patience for this project has been more than drained! LOL
3.) Once work starts up again shortly I will barely have time for the water changes on tanks I've currently got set up. Only rain days and those days I'll be catching up on the honey do list from my wife and my Mother on her house! Summers are insane around here with four kids running around all the time, 12 hr days seven day work weeks mowing the lawn, and not to mention I need to finish painting my house this year... I only started it two years ago LOL And it's not a big house either! LOL
4.) After numerous attempts at filling and re-sealing I still have a leak.
Unfortunately I cannot find the source. I am not sure what my next step is
going to be but I will be taking a break from this project. You tube
consistently keeps rejecting my videos all of a sudden so there will be no
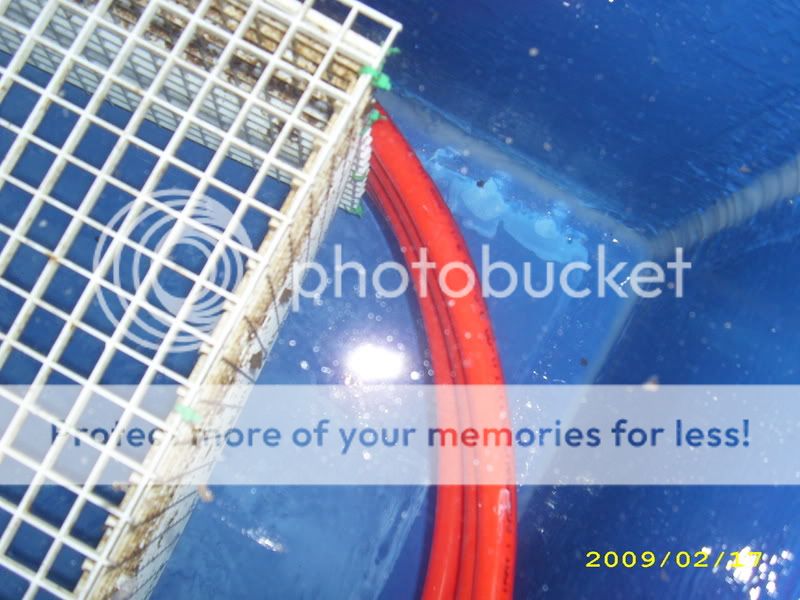
video up date this time around. I did fill the tank and sump (which does
not leak) this afternoon and I also finished the plumbing for the filter.
I temporarily put the pump in and tried to run a cycle on the tank.
Unfortunately the tank is going to need another bulkhead to feed the sump
as the pump almost overflowed the tank while simultaneously draining the
sump tank. According to my calculations each inch of the tank is 39.83
gallons and it takes two inches to fill the pipes in the filter system so
roughly 80 gallons to get the filter running. But again, the sump is not
getting fed fast enough. In theory the sump should be half full when
running normally and completely full when sitting idle or during a power
outage. If when I add another bulkhead to the tank it is still not enough
then the sump tank needs to be larger. I find this hard to believe since
this is the same pump that ran the 800 with zero issues in a sump tank
that held only 115 gallons or so. The only difference is 12 gallons of
water per inch in the addition. In my opinion 24 gallons is not enough of
a difference to warrant a larger sump tank than 163 gallons. The major
difference is one less bulkhead, one less feed to the sump.
That is where we stand.
I need to work tomorrow on a small job that should take less than 12 hrs
to complete, so nothing is going to get done tomorrow.
Here is a punch list of things that need to happen before full operation
and stocking of fish:
1.) Fix the leak.
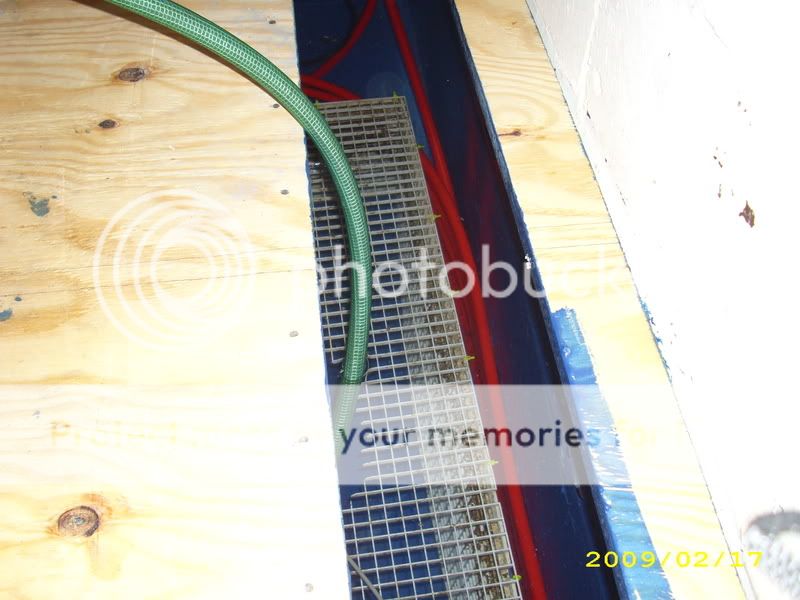
2.) Install the under gravel jets and spray bar.
3.) Add a bulkhead and another run to the sump.
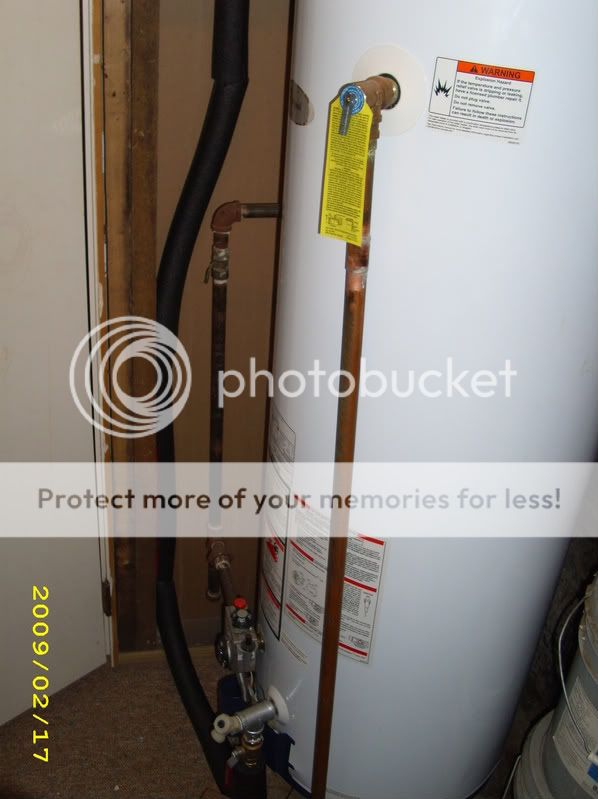
4.) Install and connect the heat coil.
5.) Make lids.
6.) Test everything for a week.
7.) Drain and decorate.
8.) Stock.
2-8 are very easy steps. It’s one that I’ve got an issue with. The only
feasible idea I have is to re-coat the entire tank by spraying it. Other
than that I’m open to ideas. I believe I’m only a few clicks away from
reaching my limit of patience. Honestly, I’m past patience and frustration
and have moved right onto the “I don’t care anymore” stage! LOL
So please. Any and all ideas are welcome.
Jonathan (aka TheFishGuy aka MonsterFishRescue)
1.) Money for this project has been more than drained.
2.) Patience for this project has been more than drained! LOL
3.) Once work starts up again shortly I will barely have time for the water changes on tanks I've currently got set up. Only rain days and those days I'll be catching up on the honey do list from my wife and my Mother on her house! Summers are insane around here with four kids running around all the time, 12 hr days seven day work weeks mowing the lawn, and not to mention I need to finish painting my house this year... I only started it two years ago LOL And it's not a big house either! LOL
4.) After numerous attempts at filling and re-sealing I still have a leak.
Unfortunately I cannot find the source. I am not sure what my next step is
going to be but I will be taking a break from this project. You tube
consistently keeps rejecting my videos all of a sudden so there will be no
video up date this time around. I did fill the tank and sump (which does
not leak) this afternoon and I also finished the plumbing for the filter.
I temporarily put the pump in and tried to run a cycle on the tank.
Unfortunately the tank is going to need another bulkhead to feed the sump
as the pump almost overflowed the tank while simultaneously draining the
sump tank. According to my calculations each inch of the tank is 39.83
gallons and it takes two inches to fill the pipes in the filter system so
roughly 80 gallons to get the filter running. But again, the sump is not
getting fed fast enough. In theory the sump should be half full when
running normally and completely full when sitting idle or during a power
outage. If when I add another bulkhead to the tank it is still not enough
then the sump tank needs to be larger. I find this hard to believe since
this is the same pump that ran the 800 with zero issues in a sump tank
that held only 115 gallons or so. The only difference is 12 gallons of
water per inch in the addition. In my opinion 24 gallons is not enough of
a difference to warrant a larger sump tank than 163 gallons. The major
difference is one less bulkhead, one less feed to the sump.
That is where we stand.
I need to work tomorrow on a small job that should take less than 12 hrs
to complete, so nothing is going to get done tomorrow.
Here is a punch list of things that need to happen before full operation
and stocking of fish:
1.) Fix the leak.
2.) Install the under gravel jets and spray bar.
3.) Add a bulkhead and another run to the sump.
4.) Install and connect the heat coil.
5.) Make lids.
6.) Test everything for a week.
7.) Drain and decorate.
8.) Stock.
2-8 are very easy steps. It’s one that I’ve got an issue with. The only
feasible idea I have is to re-coat the entire tank by spraying it. Other
than that I’m open to ideas. I believe I’m only a few clicks away from
reaching my limit of patience. Honestly, I’m past patience and frustration
and have moved right onto the “I don’t care anymore” stage! LOL
So please. Any and all ideas are welcome.
Jonathan (aka TheFishGuy aka MonsterFishRescue)


") We're going to go one inch at a time and fill it with warm water because if it starts to leak due to small splits I'm gonna get into it to mark them...
We're going to go one inch at a time and fill it with warm water because if it starts to leak due to small splits I'm gonna get into it to mark them...