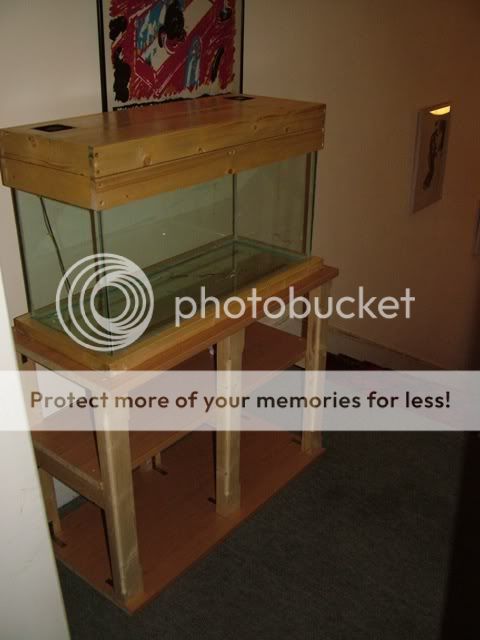
Glass Is Cut, Now To Start Building!

Well I'm nearly finished the tank. I had a bit of a major set back when the front pain of glass decided to slid of the work bench and have a smashing time on the floor. Fortunately I still had extra sheets of glass and it was just a matter of getting the glass cutter out again.

As it stands the majority of the tank is finished. The only things that remains to do are add the waterproof condensation sheet around the light-bulbs and ballast, add a computer cooling fan to help cool the lights and wood fill, sand and varnish the lot.

It has been a simple project with the only major hiccup being the smashing of the glass. In total it has taken me about 7 - 8 hours to build. With the addition of varnishing sanding and filling this will most likely go up to about twelve hours. This entire project to date has cost me roughly 35 euro. Which is not bad for a 130 lt tank.

These are a couple of quick snaps that I took last night, sorry about the quality! It will look better when the tank is sanded and varnished (I hope).


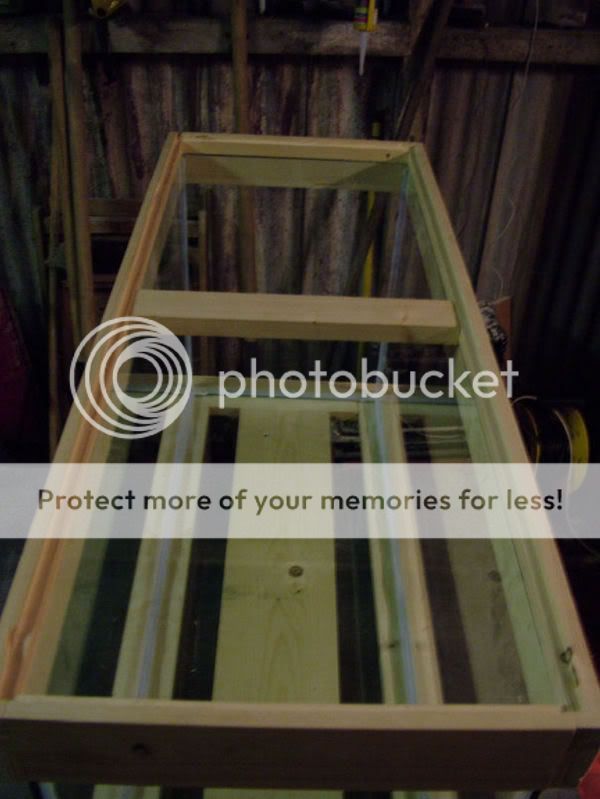
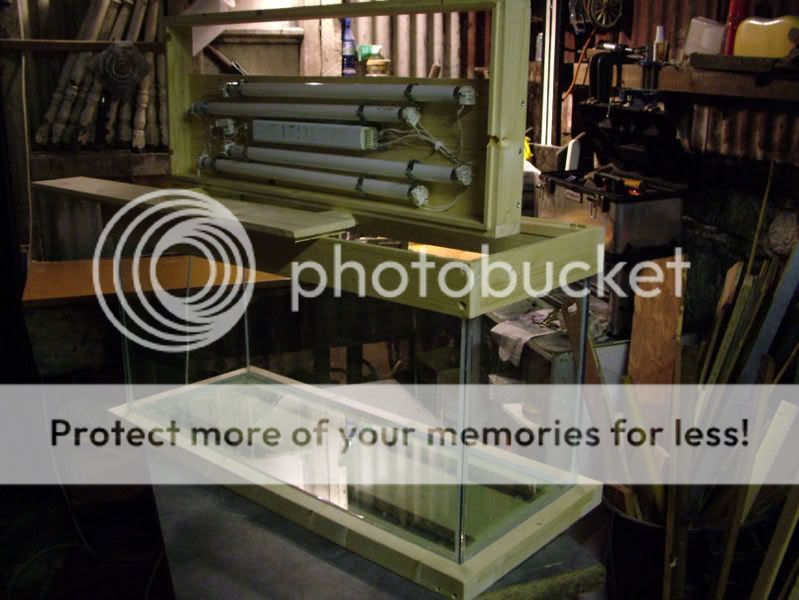
The tank with the top and bottom bracing supports
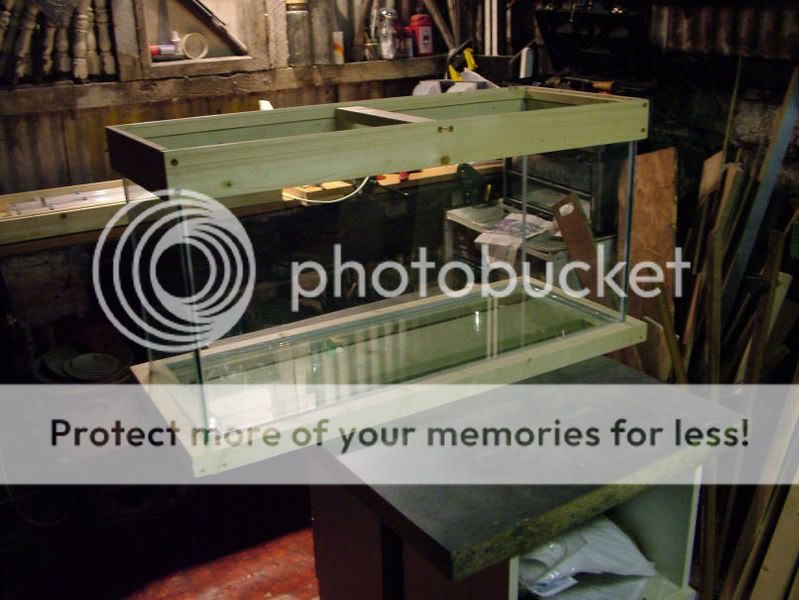
DSCF3866.jpg


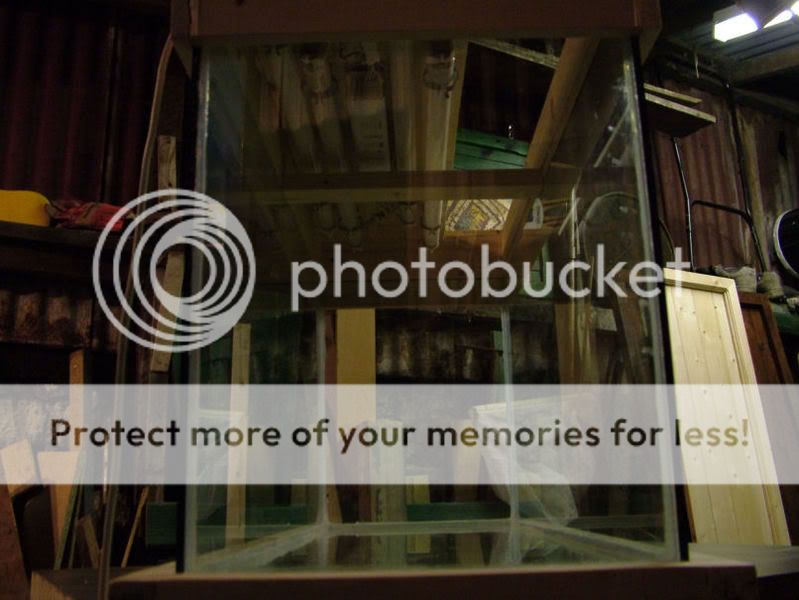
A look on the inside
DSCF3874.jpg


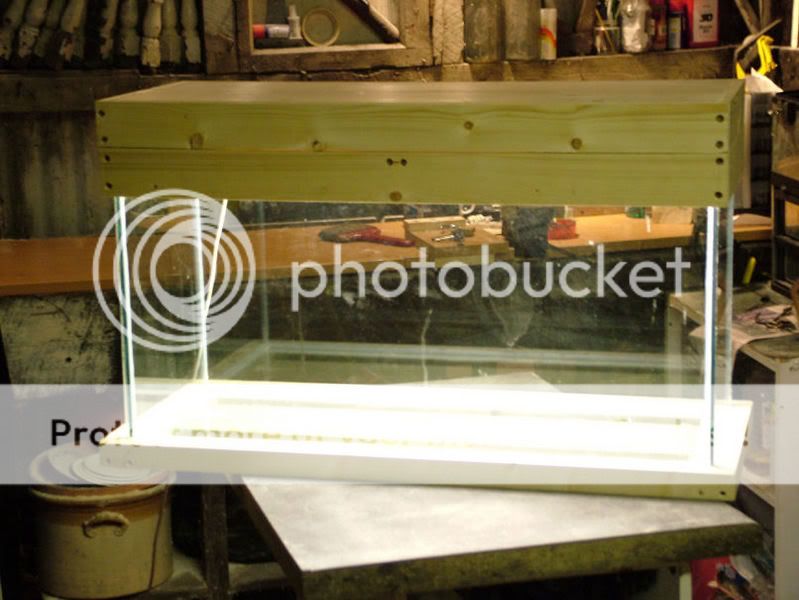
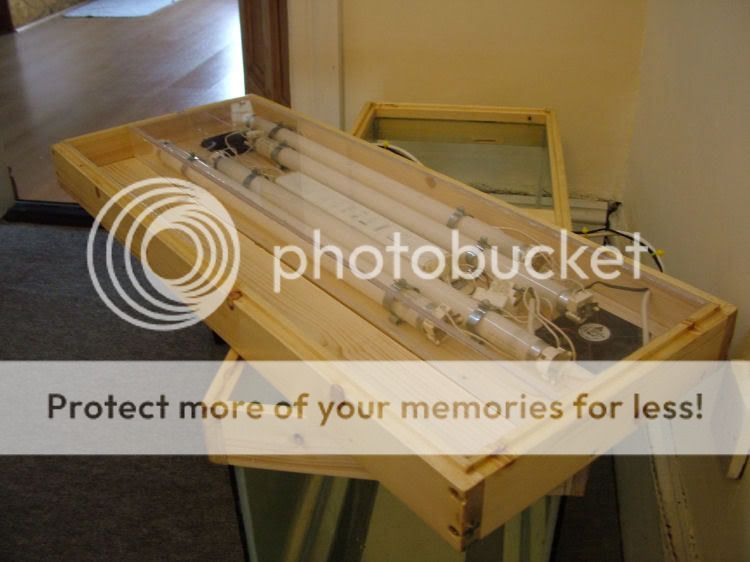
The hood with lighting kit. The lights are 4 x 18W T8's controlled by a digital balast. This gives me about 2.1 WPG. (the waterproof condensation sheet still needs to be added as does the cooling fan).
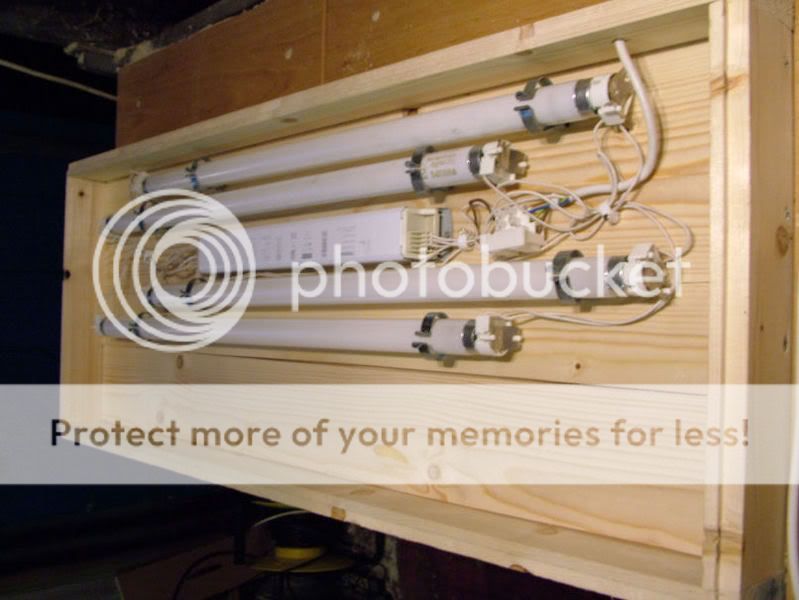
DSCF3878.jpg


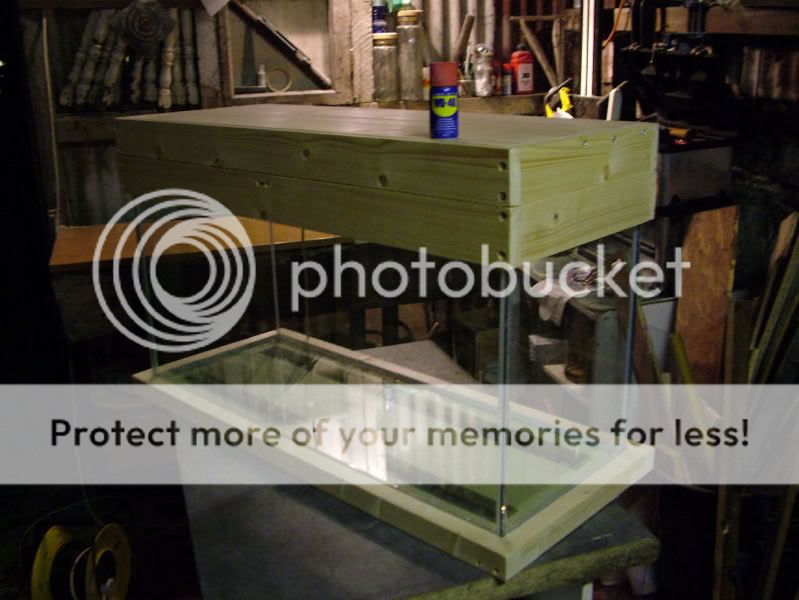
Hood mounted on the frame. (Both edges are routed so the hood sits into the upper bracing support)
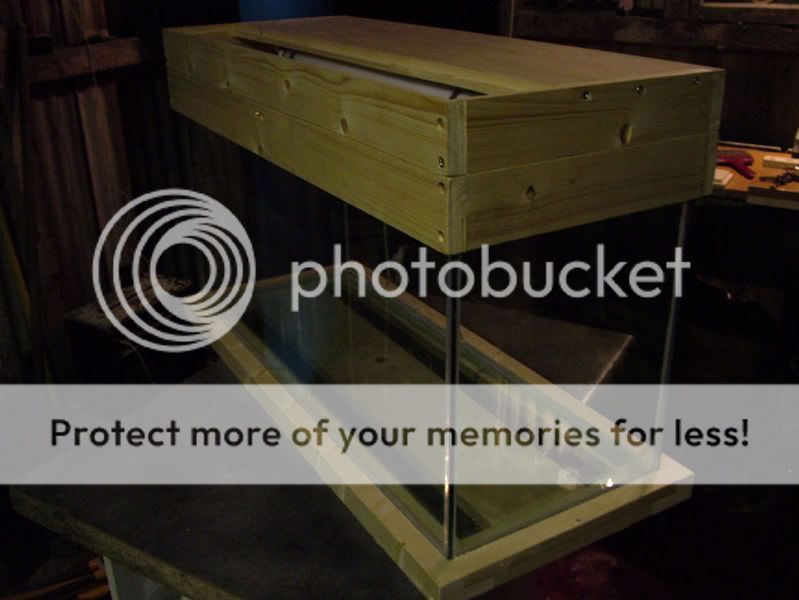
DSCF3883.jpg


Looking up
DSCF3894.jpg


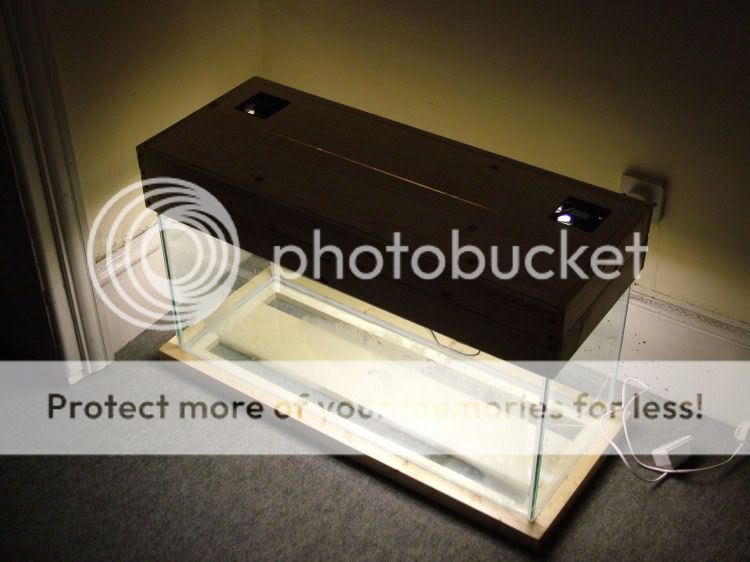
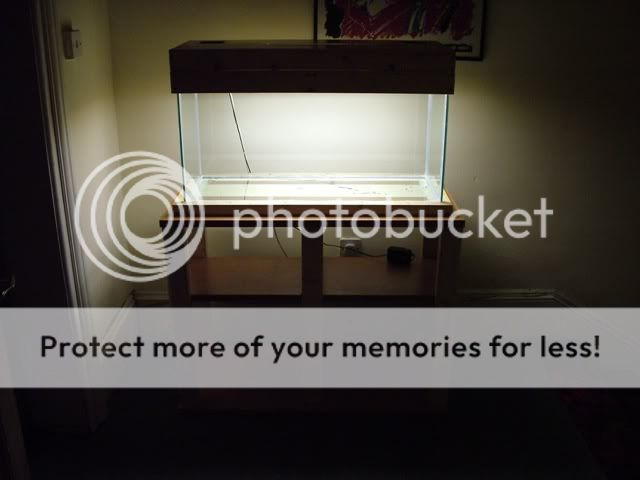
Lights on!
DSCF3899.jpg


Its bright!!!!! (think I'm going to need Co2)
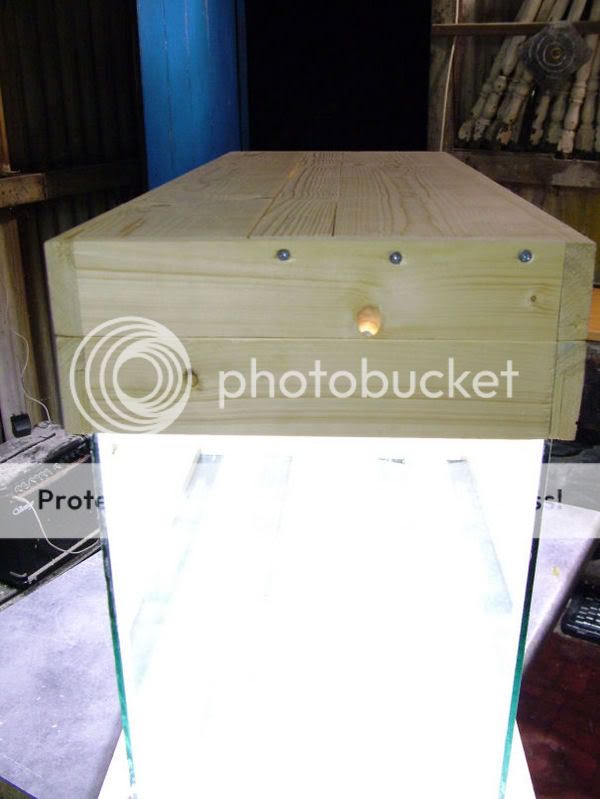
DSCF3906.jpg


The feeding access flap (a hinged flap would have been too much trouble)
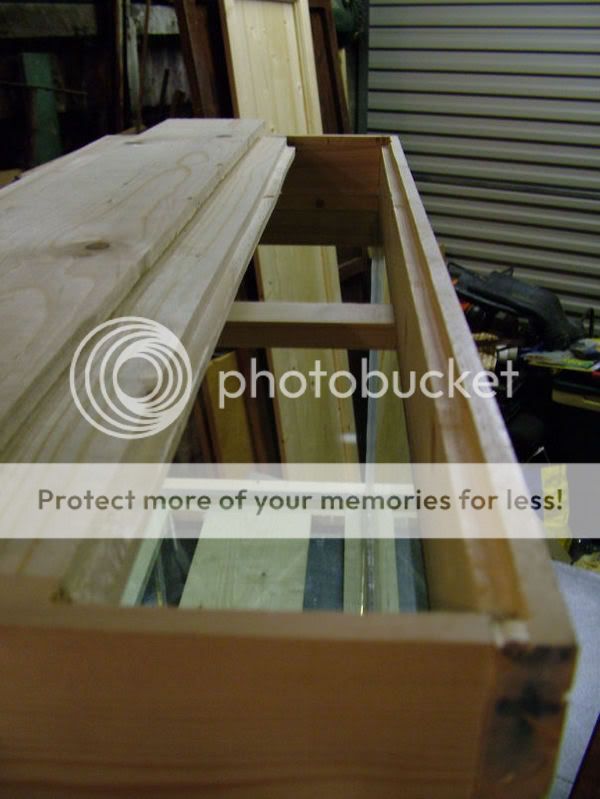
DSCF3913.jpg


All together
DSCF3915.jpg


All the bits!
DSCF3918.jpg


Comments and suggestions are welcome? I will post some more pics when its finished and it has got fish in it.
 
I'm going with an internal on this tank but I'm still going to make access holes for an external filter in the back where the hood and the upper bracing support meet. Its a two minute job but its still to be done.


Next question? What can I use to seal the wooden areas are of the tank that will be subjected to moisture?

Is normal varnish OK or do I have to use marine double polymer (stuff). All if I do use varnish does it have to be non-toxic?
 
Since the last post I had sealed the wood using a none toxic polyurethane based varnish.

I also added a protective covering around the light kit. It is constructed out of 4mm perspex that is siliconed together and then inlaid into the hood of the tank. When I initially put the light kit in I noticed that it kicked off a lot of excess heat. This is mainly due to the close proximity of the bulbs and the ballast.

To combat this excess heat I added two 90mm CPU cooling fans in the roof on the hood. The fans run in opposite directions, thus the air is pulled in through one and out through the other. I have tested the cooling system by leaving the lights and cooling fans on all night and the perspex in front of the bulbs was still cool to the touch the next morning.

I also carried out a water test to check the tank seems and they seem to be fine. All that is left to do now is aqua-scape and add the fish.

DSCF4014.jpg


DSCF4026.jpg


That is AWESOME. Makes me want to get to work on 1 of my own!

Thanks alex, It really isnt that difficult, all you really need is some spare time and a place that you can make a mess in.
 
Thanks Neal,

The fans are both running off the same adapter at about 3 volts.

One of these little puppies
dscf1090.jpg
 
Where do you get all of the parts?

The only parts that I had to buy for this project was the wood, silicone, perspex and ac adapter. The rest of the materials where being thrown out. The glass was in a skip, the lights where on the way to a skip and the cooling fans where taken out of two old computers that had been in my office that looks like a skip!!!!

In total the tank build has cost me roughly 44 euro to date. I'm in the process of putting together a stand and the material for that where another 30 euro. So in total I'm looking at around eights euro for that lot. I know its not shoe-string cheap but its still very reasonable for an entire original setup.
 
Great Job Tanks, made it look easy but I just know if I tried it wouldn`t be.
What kind fish are going to go in ?
 
What kind fish are going to go in ?


All this work for two goldfish! My brother had been been keeping two comet's in a bowl the size of a small cup for the past two years. I kept telling him that they need a proper tank but he was having none of it!!! So in the end I just thought I would make him one instead. All this work and I don't even get to keep the bloody thing!!! At least the fish will be happy!!
 
Where the heck do you get the stuff to make a tank with?


hey tetraman, most of the components that I used to make the tank are all recycled (I'm doing my part for the environment!!!! :p ). Like I stated above

Myself said:
The only parts that I had to buy for this project was the wood, silicone, perspex and ac adapter. The rest of the materials where being thrown out. The glass was in a skip, the lights where on the way to a skip and the cooling fans where taken out of two old computers that had been in my office that looks like a skip!!!!

The building that I work in had been under renovations so that why I got my hands on the glass and lights. The only things that I had to buy was the timber, screws and aquarium silicone. Hope that answers your question. And if you where wondering if I had plans/instructions for making the tank I didnt. I just made it up as I went along!!!!!!!!!!!!! :blink: :blink:


Next installment!!

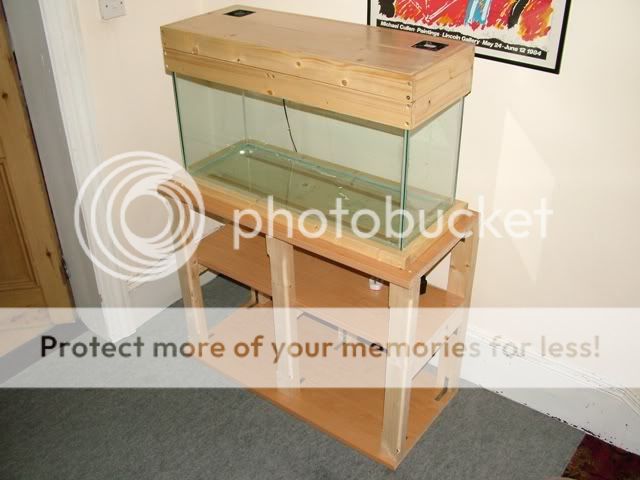
I have just finished building the stand for the tank. It took me the best part of three hours and cost me the almighty sum of 35 euro for the timber. I had the lamenate chip boards already so I didnt have to include that in the cost. Its a simple structure and is similar to the other stands that I have already made. Although with this one I tried to keep it all square so that it would match the look of the tank. It seemed to do the trick.

Let me know what you think.

I know some people are looking at the stand and saying "L-Brackets tut tut tut" thats not enough to support it. Trust me on this, this stand would not be going in my house if I didnt think it was up tp scratch.

and now the pics.

DSCF4036.jpg


DSCF4049.jpg


DSCF4027.jpg
 
Thanks! Say you didn't have these materials at hand (like me), where would you get them? Where do you get the glass and the corner holder thingies? I was thinking about making a 1' cube or an 18" cube.
 

Most reactions

Back
Top