Onto the Nano luminaire now. All finished in a total of about 6 hours of which most of that was spent on making the luminaire (and then getting a little carried away decorating it

)
So here is the unpainted, unfitted luminaire on top of the nursery Nano (which I made out of an old window last week

)
The base panel where thelights will be is 6mm clear acrylic and the sides are 2mm. Again was somethng I had lying around. An old leaflet holder that my Dad brought around with a load of scrap wood that I made my shed from

The lenses on the Stars:
Then a star fixed to heatsink. I have used thermal compound because I had some from when I removed my PC processor during a problem period. I then superglued over the edges of the star to stop it 'sliding'
The lenses glued and then siliconed into position inside the luminaire. I wanted to actually fit the lenses into the holes but this acrylic is quite hard to cut perfectly and therefore I decided to fit these above the holes. If I do the main luminaire like this I will use wood because it is much easier to do these sort of holes and then I can fit the lense flush with the surface within the hole.
you can see how carried away I got with the decoration now. lol. Aluminium car spray, then some decals from a bike, then gloss enamel spray to finish it (all of which I had lying around)
And the lenses viewed through the holes:
Testing it viewed from below:
And an idea of the brightness of 3 LEDs. The floor below is about 3ft from the LED. The water in the tank this is going on will be about 6 inches below!!!:
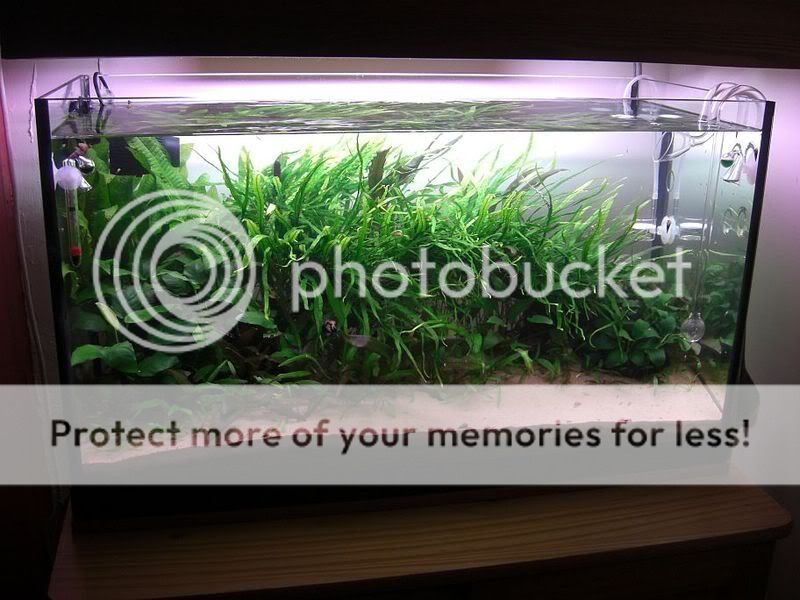
And the finished article ready for the tank test!!!
I will do a comparitive test of the light with and without lenses later although it won't be exactly scientific as I will 1 series of the main luminaire at the same height as this little luminaire for the 'without lenses' test. Therefore different LEDs and slightly different spacing but will give an idea of the difference between using and not using lenses.
AC


 )
)


