Well, long promised, SkiFletch goes nano. Or in this case, close to Pico  . This will start my 5.5g mantis nano diary. Courtesy of a few videos and accounts of keeping Mantis Shrimp, I figured I have to have one. My longterm goals for this tank obviously include a Mantis Shrimp, prefferably a Gonadactylus Smithii species along with some corals and perhaps a big Mexican Turbo Snail (which the mantis may decide he'd like for a meal). The real challenges to the project will be #1, FINDING a Gonadactylus Smithii (or other similarly sized smasher mantis), and #2 keeping the tank clean. I plan to run my old seaclone skimmer on the sump, as well as a small HOB with rowaphos to keep phosphates down in either the sump or display depending on how much flow I feel I need. My research indicates that controlling nuisance algae in mantis nanos is difficult because they often hide uneaten food. Be that as it may, on to tank construction and pics
First up, the tools for the operation. A Dremmel rotary tool with routing head, a diamond cutting bit, some silicone, and of course a bulkhead fitting. Not pictured is the bare un-marred 5.5g tank, but its just a standard tank, so use your imagination

Using these tools, I cut a hole with the cutter and installed the bulkhead. Upon tightening the bulkhead, the glass cracked (which I've come to learn happens a lot with thin glass on small tanks) and split from the bulkhead up to the top. Shouldnt much matter cause that part of the tank will never see water, but oh well, you'll see the crack in later pictures. Here's the tank with the bulkhead installed:

After bulkhead installation, time to make and install the weir. Here you'll see where the glass was cracked (I siliconed it up just to be sure )
)
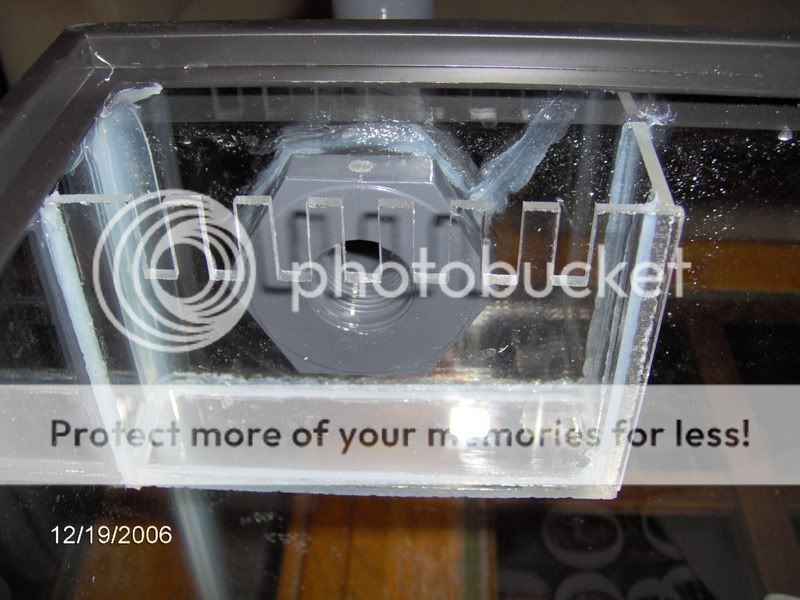
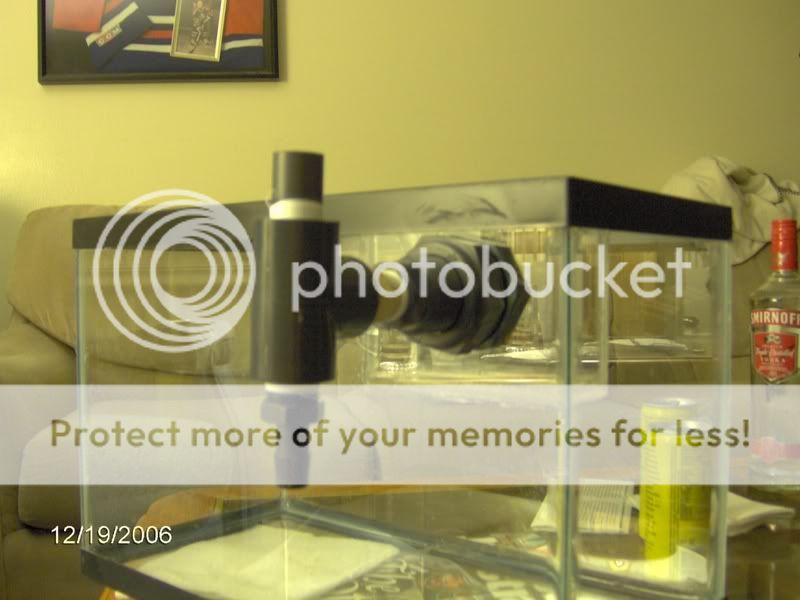
After weir install, time to do the rest of the "business end" of the overflow and install the T fitting with the top having a little hole drilled through it to allow air in and stop gurgling sounds. Here's a closeup and a FTS of the weir and external hardware installed. The bottle of Vodka is left over from last night
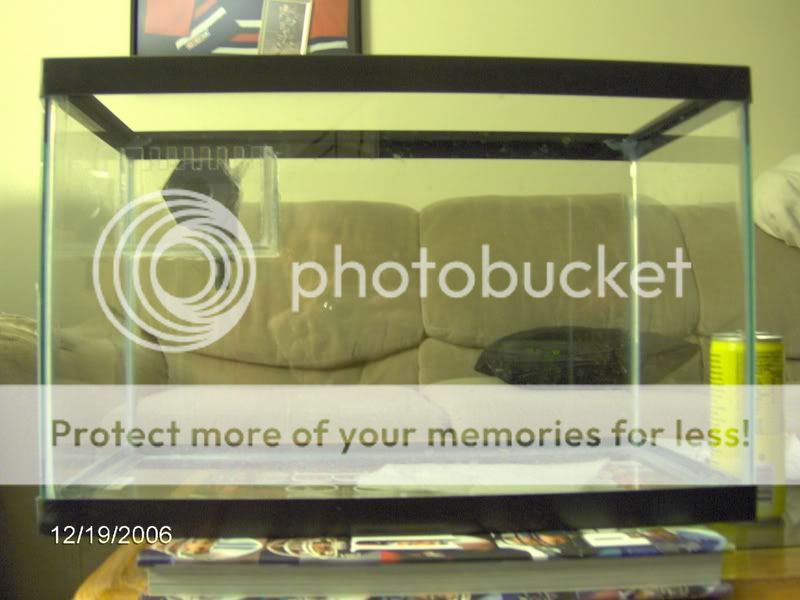
And last step for the weekend, the back is painted black and the tank is otherwise ready.

Next step, install tubing and fix the sump to the tank. That pretty much wont happen for another week or so since I'm going on vacation on wednesday after the new year. In the meantime, hope all of you enjoy the pics and have a happy new year
First up, the tools for the operation. A Dremmel rotary tool with routing head, a diamond cutting bit, some silicone, and of course a bulkhead fitting. Not pictured is the bare un-marred 5.5g tank, but its just a standard tank, so use your imagination

Using these tools, I cut a hole with the cutter and installed the bulkhead. Upon tightening the bulkhead, the glass cracked (which I've come to learn happens a lot with thin glass on small tanks) and split from the bulkhead up to the top. Shouldnt much matter cause that part of the tank will never see water, but oh well, you'll see the crack in later pictures. Here's the tank with the bulkhead installed:

After bulkhead installation, time to make and install the weir. Here you'll see where the glass was cracked (I siliconed it up just to be sure

After weir install, time to do the rest of the "business end" of the overflow and install the T fitting with the top having a little hole drilled through it to allow air in and stop gurgling sounds. Here's a closeup and a FTS of the weir and external hardware installed. The bottle of Vodka is left over from last night


And last step for the weekend, the back is painted black and the tank is otherwise ready.

Next step, install tubing and fix the sump to the tank. That pretty much wont happen for another week or so since I'm going on vacation on wednesday after the new year. In the meantime, hope all of you enjoy the pics and have a happy new year

