squeakytoy
Fish Fanatic
I have an Acrylic 77g that I am "attempting" to bring back to life. It's a wierdo, a corner tank with a 24" half circle coming out the front. (I posted earlier in this forum about bio wheel versus bio balls.) It should be really cool when (IF!) I finish, and I will post pics of it. But at the moment I am only barely resisting the urge to "fix" it with a 5# hand drill  ... and I do mean only barely. I have been chasing leaks for the last 4 weeks, and I am getting frustrated with constantly carting the big sucker in and out of the house to test it. So, it has a bio ball compartment on the back and the filter/pump feeds are located on the bottom, with the pump out coming up the main living compartment through the bottom. The problem, this time, is that the fitting that holds the outpipe to the bottom of the tank has come loose...again. Part of the problem is that the tank is about 3 feet deep and so it is very hard to accurately place things, as well as apply any significant amount of clamping pressure. This leads me to think that a thick epoxy, with a bit more fill than a standard plastic glue would be the best solution. However what are the best choices? I think it might be a good idea to list what adhesives / paints / caulks have been used successfully in various applications, as well as others that have failed miserably. Anyway, I did calm (one great feature of Formica countertops is that they can be punched repeatedly without breaking!! Oddly enough, you dont see that listed in too many brochures
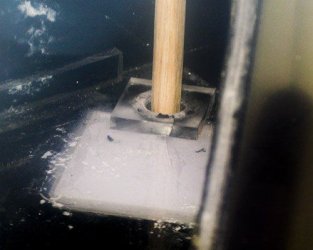
  ) enough to get a photo or two to show what I am working with. The fact that the opening at the top is only just bigger than a foot wide doesnt help either.
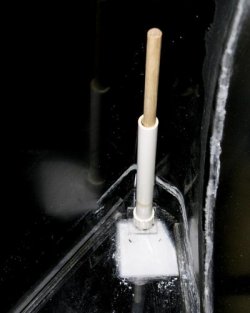
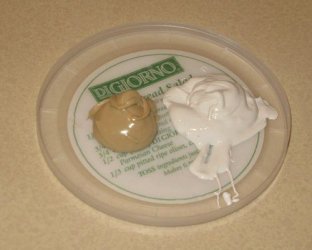
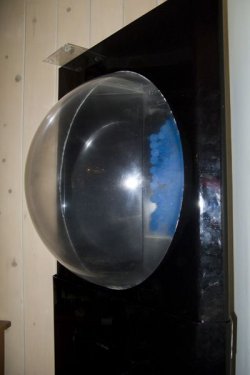
in order... repair location
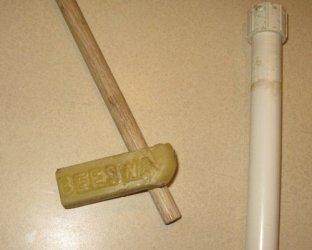
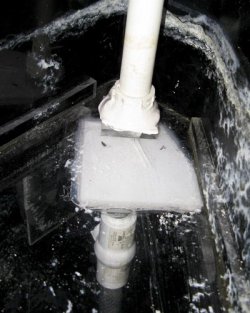
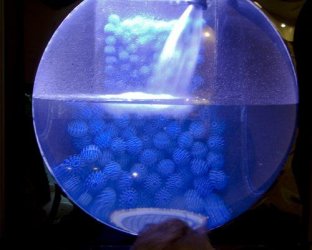
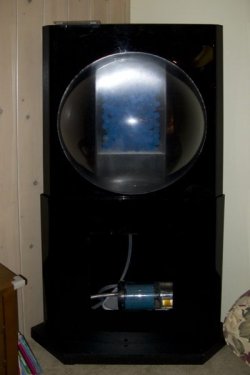
followed by the whole kit and kaboodle
... and I do mean only barely. I have been chasing leaks for the last 4 weeks, and I am getting frustrated with constantly carting the big sucker in and out of the house to test it. So, it has a bio ball compartment on the back and the filter/pump feeds are located on the bottom, with the pump out coming up the main living compartment through the bottom. The problem, this time, is that the fitting that holds the outpipe to the bottom of the tank has come loose...again. Part of the problem is that the tank is about 3 feet deep and so it is very hard to accurately place things, as well as apply any significant amount of clamping pressure. This leads me to think that a thick epoxy, with a bit more fill than a standard plastic glue would be the best solution. However what are the best choices? I think it might be a good idea to list what adhesives / paints / caulks have been used successfully in various applications, as well as others that have failed miserably. Anyway, I did calm (one great feature of Formica countertops is that they can be punched repeatedly without breaking!! Oddly enough, you dont see that listed in too many brochures ) enough to get a photo or two to show what I am working with. The fact that the opening at the top is only just bigger than a foot wide doesnt help either.in order... repair location
followed by the whole kit and kaboodle


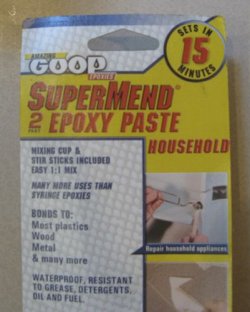
 It's a two part marine grade, solid state, epoxy resin, that you mix together elsewhere, and apply to your joint within 5 mins of mixing, to create your fix. It is instantly waterproof and can set deap under water. I would throrughly clean off all traces of previous solvents and dirt, by rubbing over the area with a fine grade wet and dry paper, followed by a wipe down with any alcohol based cleaner, such that all old glue and glue residue is lifted. The fine paper also puts pitting into the plastic, giving the putty (or any other bonder for that matter) something to hold onto
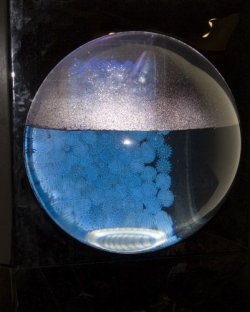
  It would seem to be water tight, and ready to outfitted for fish! I figured I would write up a walkthrough just in case any one else managed to end up in a similar predicament. Here goes... Fitting fittings to deep floors 101.