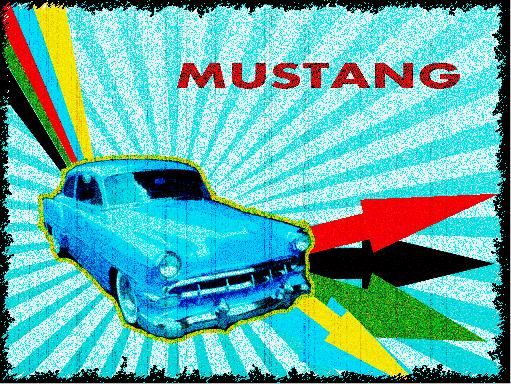
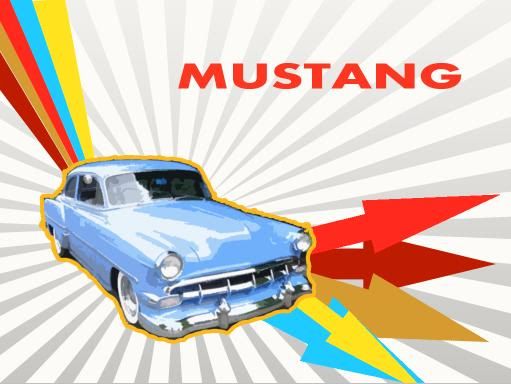
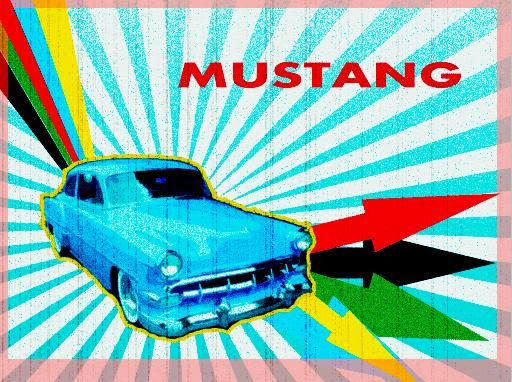
i this tutorial il going to show you howto make some retro look art, 2days example will be a mustang here is what we are trying to make
What do i need
photoshop cs5 ( on any other version )
a stock image
some spare time
Ths tut
1st you need to click file > new and set the setting to : 1024×768 px and 72 dpi . once you have it open you need to click on the Paint Bucket Tool (g) and fill the page with white
it will now look like this

the next step we do will be the background. to do this do :
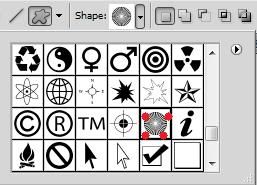
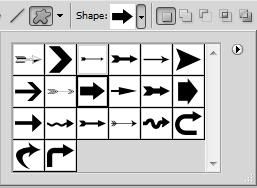
use the custom shape tool ( right side ) and select the shape in the following pic :
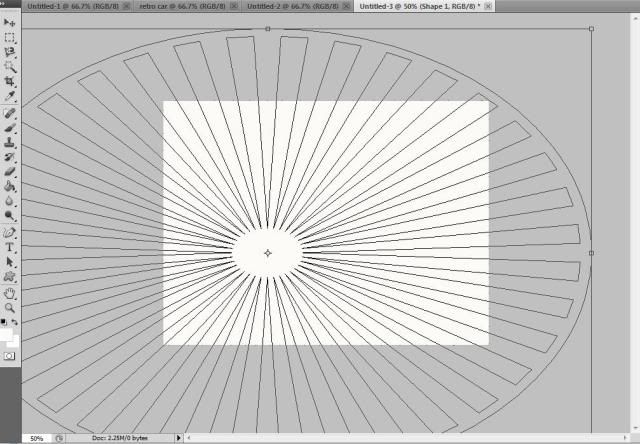
place this anyware in your workspace. then goto edit > free transform path ( ctrl + t ) a little box to let you change the size of the image will appear around the shape , you want to make this image bigger than the work space and possition it the same place as me :
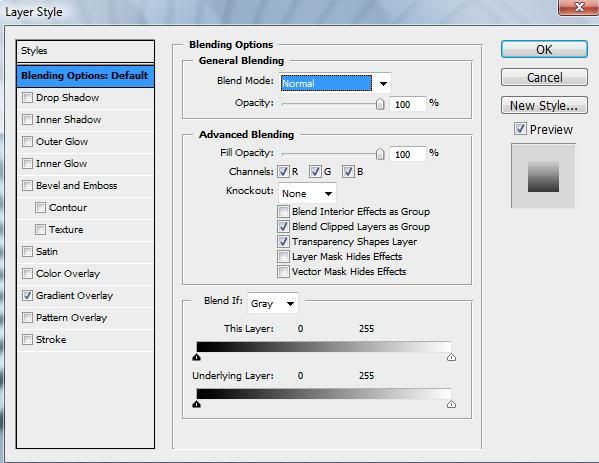
We need also to apply for the shape the Blending Options>Gradient Overlay with these settings
you will now have this :
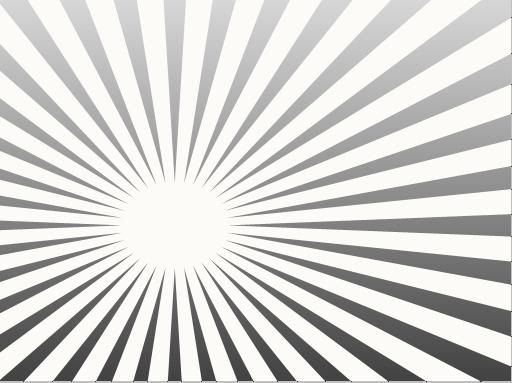
now this is still a little dark so change the Opacity to 29%

now that the background is done we are going to work on some other elements , for this we are going to need the Polygonal Lasso Tool (L).
with this we want to represent 5 rays of light on the top right of the workspace, here is what i got :
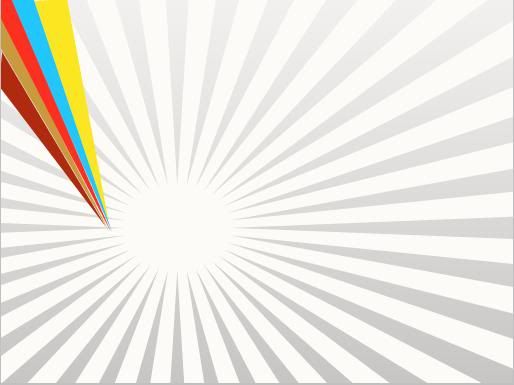
now we have that we are going to add some more custon shapes this time we want arrows so Select again the Custom Shape Tool (U) and represent an arrow, inclining it with the Free Transforme option.
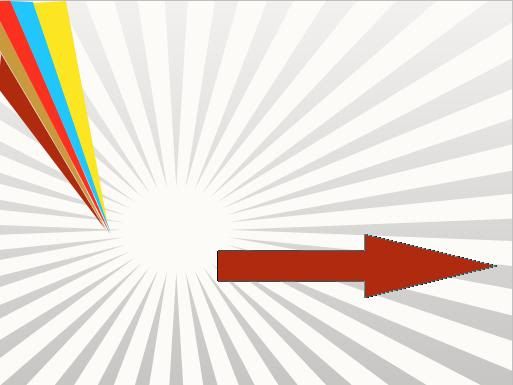
you now need to Make five copies of the last made layer and apply for each copy the Free Transform option placing the copied arrows as it is presented next picture. The copies have these same colors as your rays
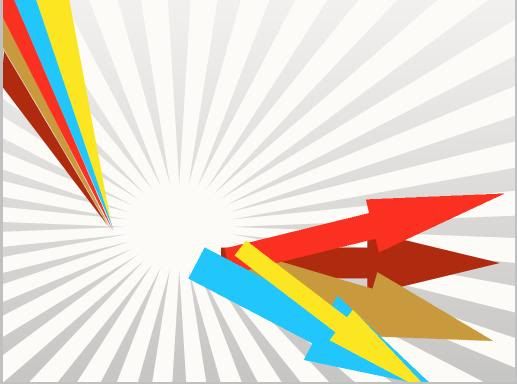
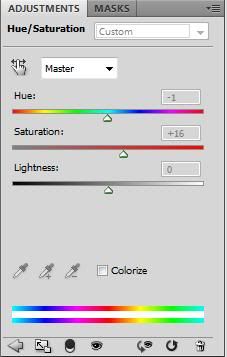
Create a new layer now and click on the bottom of the layers’ palette on the button entitled Create new fill or adjustment layer and select the Hue/Saturation option. and make the setting as follows :
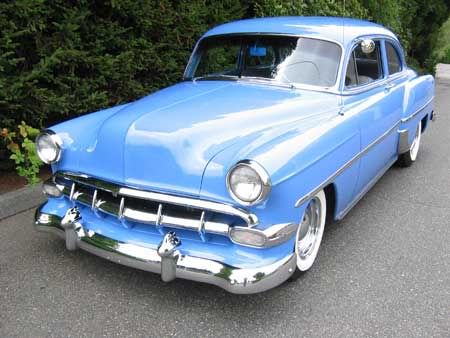
now youy need a stock image from the net, im using this 1 :
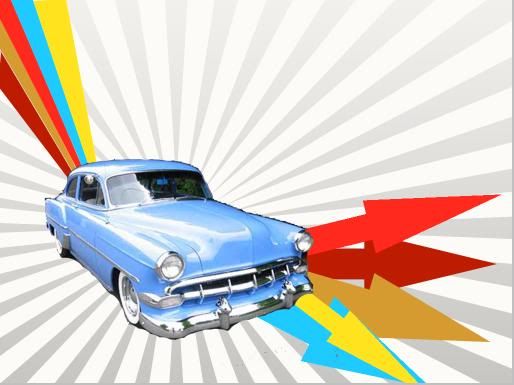
goto file > place and select the image you are using and place it onto the image now you need to remove all the background leaving just the car , then you need to turn it around on 180 degrees with the Free Transform option you should now have this :
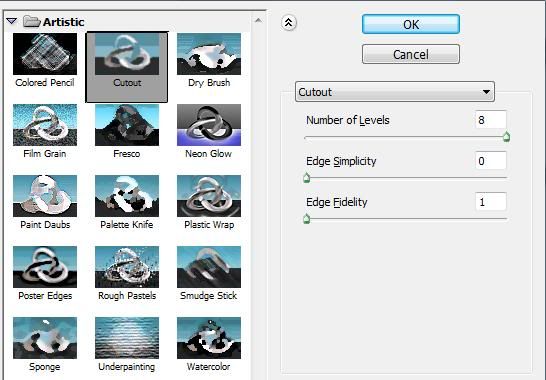
for layer properties goto filter > artistic > cutout and have these settings :
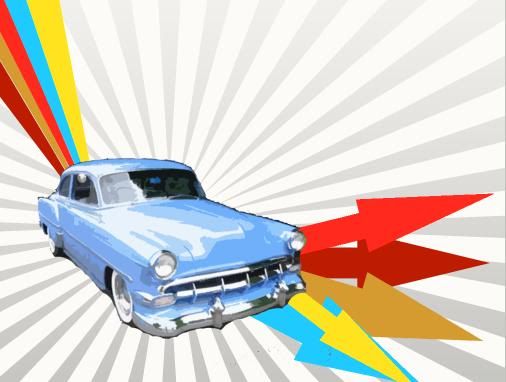
you will now have an image something like this
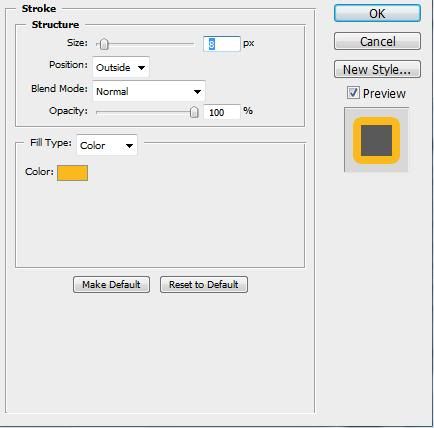
We need to apply for this layer also Blending Options>Stroke
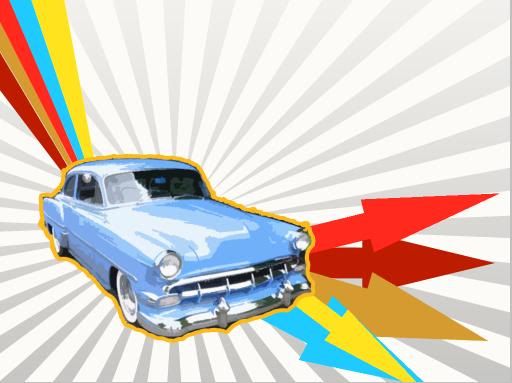
and it should look like this :
Now select the text tool and insert some test i will add MUSTANG and red in color. then set a Fill of 75%.
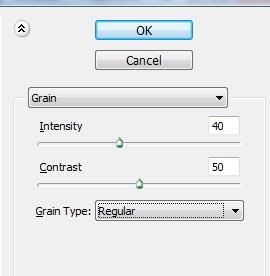
Create one more new layer (Create new layer) and choose the Paint Bucket Tool (G), colored with blue. Select also the here shown filter’s option: Filter>Filter Gallery>Texture>Grain with the following setting
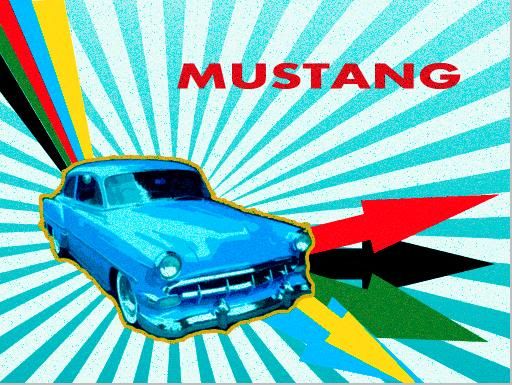
your image will now look like this

The parameters for the layer we work with: Blending Mode - Color Burn
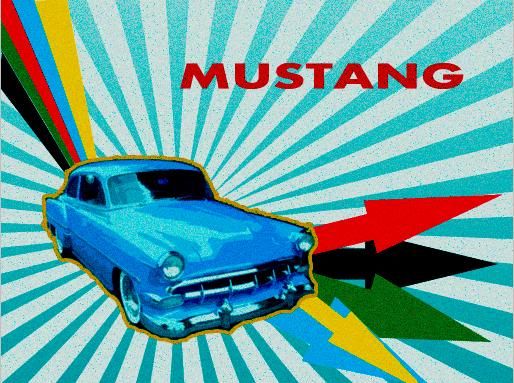
Create another new layer (Create new layer) and paint it out with the usual Paint Bucket Tool (G), colored with gray. Apply for it the earlier selected filter: Filter>Filter Gallery>Texture>Grain with the same parameters. then Select for this layer Fill of 47% and Blending Mode-Linear Burn
The next shown filter’s option (Filter>Texture>Grain) should be applied on a new layer (Create a new layer)
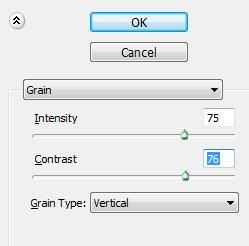
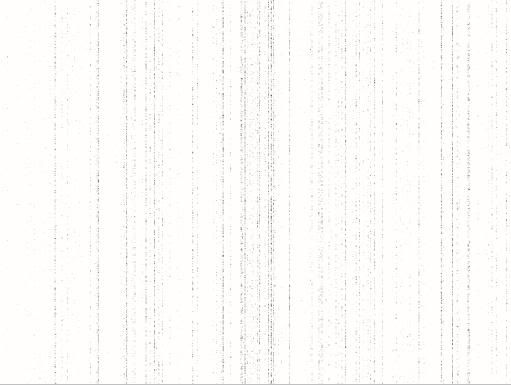
Fill 47% on this layer and select also Blending Mode-Overlay
you should now have this :
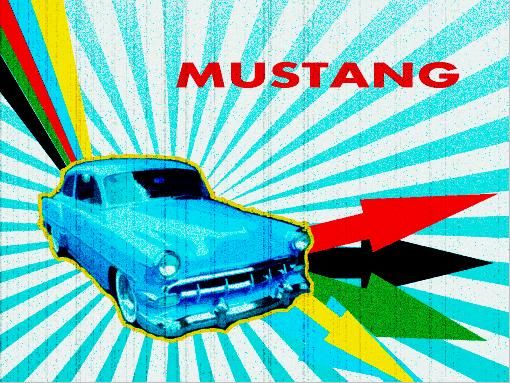
now to add a border to the image, 1st save the pic as a jpeg or watever you want and reopen it,
Use "rectangular marquee tool" in the toolbar .Choose an area that you do not want to change..
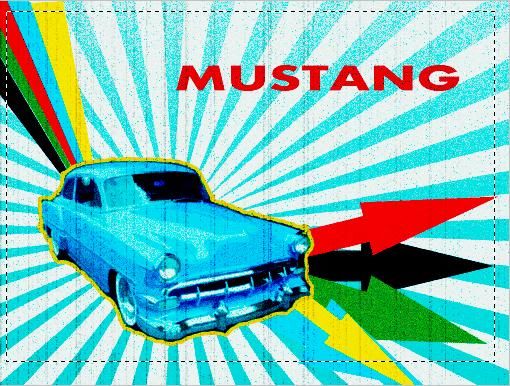
Then press "Q" to entry "quick mask" modes. your image will now look like this
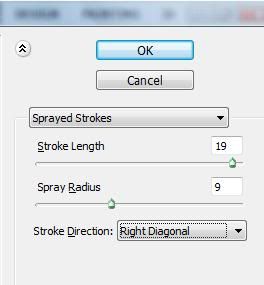
Click "filter--brush strokes--sprayed strokes". You can choose other filters as requirement. then change the settings to
Press "Q" to return the natural modes. Click "select inverse" in right menu.
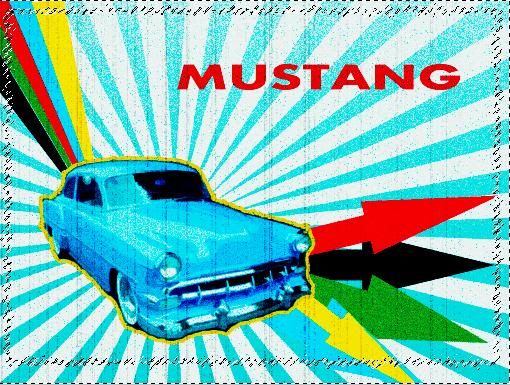
Then press "delete" in keyboard. You can see the effective image


What do i need
photoshop cs5 ( on any other version )
a stock image
some spare time
Ths tut
1st you need to click file > new and set the setting to : 1024×768 px and 72 dpi . once you have it open you need to click on the Paint Bucket Tool (g) and fill the page with white
it will now look like this

the next step we do will be the background. to do this do :
use the custom shape tool ( right side ) and select the shape in the following pic :

place this anyware in your workspace. then goto edit > free transform path ( ctrl + t ) a little box to let you change the size of the image will appear around the shape , you want to make this image bigger than the work space and possition it the same place as me :

We need also to apply for the shape the Blending Options>Gradient Overlay with these settings

you will now have this :

now this is still a little dark so change the Opacity to 29%

now that the background is done we are going to work on some other elements , for this we are going to need the Polygonal Lasso Tool (L).
with this we want to represent 5 rays of light on the top right of the workspace, here is what i got :

now we have that we are going to add some more custon shapes this time we want arrows so Select again the Custom Shape Tool (U) and represent an arrow, inclining it with the Free Transforme option.


you now need to Make five copies of the last made layer and apply for each copy the Free Transform option placing the copied arrows as it is presented next picture. The copies have these same colors as your rays

Create a new layer now and click on the bottom of the layers’ palette on the button entitled Create new fill or adjustment layer and select the Hue/Saturation option. and make the setting as follows :

now youy need a stock image from the net, im using this 1 :

goto file > place and select the image you are using and place it onto the image now you need to remove all the background leaving just the car , then you need to turn it around on 180 degrees with the Free Transform option you should now have this :

for layer properties goto filter > artistic > cutout and have these settings :

you will now have an image something like this

We need to apply for this layer also Blending Options>Stroke

and it should look like this :

Now select the text tool and insert some test i will add MUSTANG and red in color. then set a Fill of 75%.

Create one more new layer (Create new layer) and choose the Paint Bucket Tool (G), colored with blue. Select also the here shown filter’s option: Filter>Filter Gallery>Texture>Grain with the following setting

your image will now look like this

The parameters for the layer we work with: Blending Mode - Color Burn

Create another new layer (Create new layer) and paint it out with the usual Paint Bucket Tool (G), colored with gray. Apply for it the earlier selected filter: Filter>Filter Gallery>Texture>Grain with the same parameters. then Select for this layer Fill of 47% and Blending Mode-Linear Burn

The next shown filter’s option (Filter>Texture>Grain) should be applied on a new layer (Create a new layer)


Fill 47% on this layer and select also Blending Mode-Overlay
you should now have this :

now to add a border to the image, 1st save the pic as a jpeg or watever you want and reopen it,
Use "rectangular marquee tool" in the toolbar .Choose an area that you do not want to change..

Then press "Q" to entry "quick mask" modes. your image will now look like this

Click "filter--brush strokes--sprayed strokes". You can choose other filters as requirement. then change the settings to

Press "Q" to return the natural modes. Click "select inverse" in right menu.

Then press "delete" in keyboard. You can see the effective image

