While there is a fantastic pinned topic on moss walls already up, I thought I'd add my own contribution to this fun aspect of the planted tank hobby. As far as I know, I came up with it, but perhaps others have thought of this first. Moss walls are great for shrimp tanks, nanos, and low-techs.
The Moss wall is used in many types of layouts. It creates a dense, living background that is three-dimensional. Moss walls are appreciated by shrimp, other invertebrates, and small fish. There are other very effective ways to make a moss wall. I read the posts in this Moss Wall Thread and three things stuck out as being potential problems.
1. Fish get stuck and die behind the two pieces of mesh, or get stuck between the mesh and the glass because of the gap left by suction cups. Doesn't really happen much though.
2. The moss takes forever to grow between the mesh. For me, this is because the moss is overly shaded, especially if one uses dark mesh. Or...
3. Lack of circulation between the mesh, causing poor growth because the moss cannot access the same amount of nutrients because of the restricted flow between the mesh.
I'm not saying that I solved these issues, but I do notice that my wall took much less time to establish itself and the growth seems quite thick. This method is also probably more expensive. I used this dank divider that I purchased at my lfs.
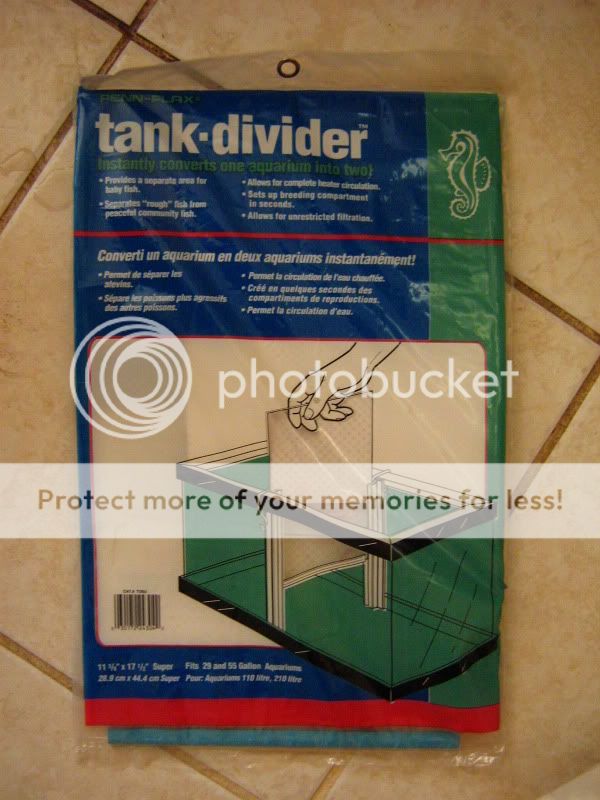
I've used this to divide tanks before (when I was breeding kribensis and keeping bettas) and in some cases, mosses actually naturally grew on the divide.
Another feature that makes this idea interesting. The stainless steel clips, which are harmless and come with the divider.

Unlike suction cups, which leave gaps between the glass and the mesh, these inert clips hold the divider flush against the glass, with no gap. Fish cannot get through. Couple this with the substrate holding the divider in the bottom, you have a gap-free wall that is transparent. Below is a picture of the tank with bare "moss wall" secured in place.

As you can see, there are numerous, evenly distributed holes. The method involves gently sewing the moss onto the wall by using a needle and fine-test, lead-free fishing line.
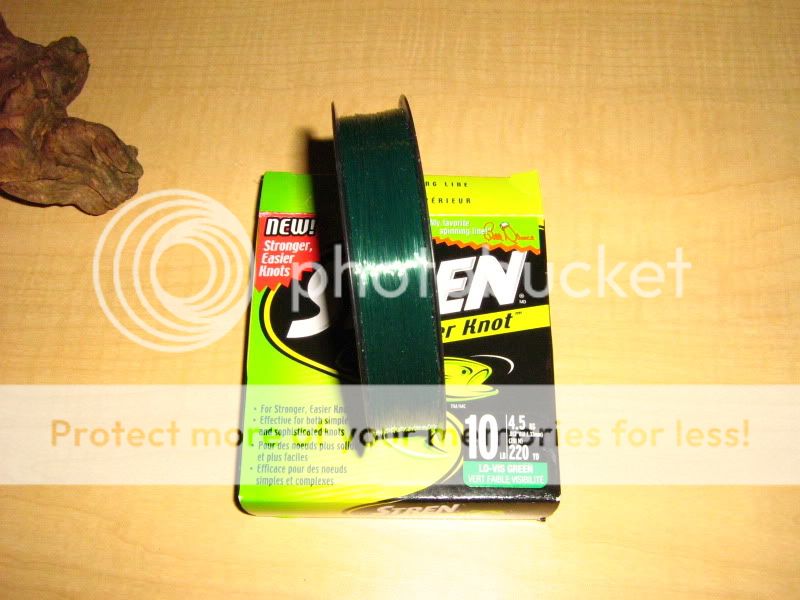
It is particularly well-suited for making knots and twisting, which is precisely what I want it to do. It is also strong and won't degrade. It is transparent, so it will be hard to see, yet it has a green tinge, so it will blend with the moss once it grows in. Be sure to get lead-free test.
Advantages to this method include.
1. Most of the moss is actually exposed to the water column rather than wedged between two mesh pieces and can take advantage of full lighting, circulation, and nutrient distribution that the tank has to offer. This allows it to become established faster.
2. Because I'm using metal clips to attach the wall, there is no gap between it and the glass, and I significantly reduce the possibility of fish deaths or accidents.
3. The wall is less bulky and much more mobile. I can build the wall outside of the tank and then just slide the wall into place. I also don't have to worry about 2 pieces of mesh and the wall does not interfere with tank hardware.
4. The entire aquarium back wall can be covered, barring the space below where the wall inserts into the substrate. That is some thick coverage.
5. The equipment used is very small, and not invasive. No giant suction cups, no bulky mesh, no stand-out plastic.
Possible disadvantages.
1. DO NOT USE THIS WITH A HEATER!!! The divider is plastic and can melt if put in contact with a heater. My tank is unheated.
2. Your moss may not attach to the wall. If you have the moss on the rough side of the divider, then yes, portions will attach. If you attach on the smooth side, then probably not. The moss, however, does remain attached via the fishing line.
For the construction of this wall, I had 21 portions of Weeping moss from Aquaticmagic. I had a lot leftover. A typical bag of Weeping moss.
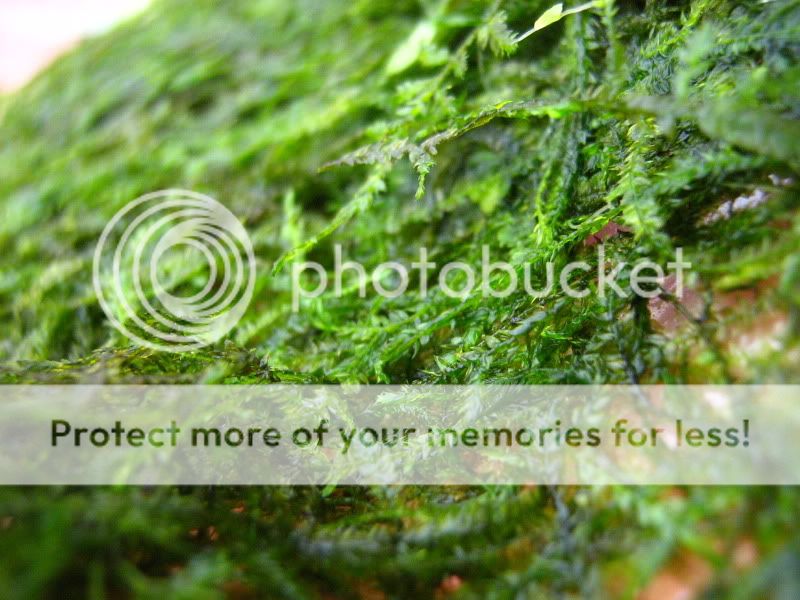
I'll tell you, putting up the wall took the better part of an afternoon and evening :jawdrop It was tedious work, but I was quite pleased with how it had turned out. It was difficult finding a needle with a small enough eye to pull line through the holes, yet with a large enough eye to actually fit the thread. I went through about 3 needles and just plain threading with my fingers before I finally found a needle that worked well. I placed a desired piece of moss on the divided and then sewed it in place using the fishing line. I would continue to lay moss and secure by sewing until I ran out of line. When I ran out of line, I would secure the line with a knot and refit the needle with more fishing line. To keep the moss fresh, I fitted a ceramic mister with tank water and spritzed the moss as I worked. When I needed a break, I submerged the wall into the tank. A progress shot.
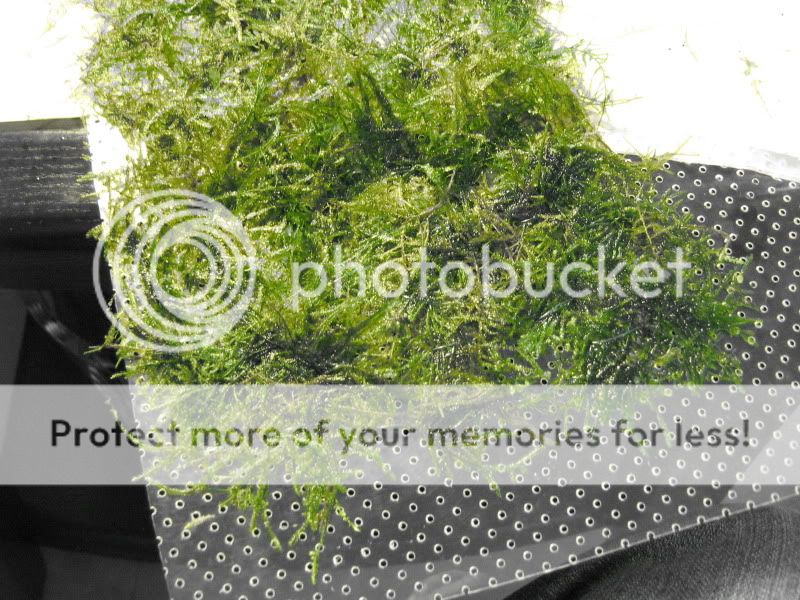
I didn't need very much to get good coverage, and you can see from above, that there are places where you can definitely see through the moss. The fishing line performed very well. It's almost an insta-wall, depending on how much you cover. A shot of the completed wall.
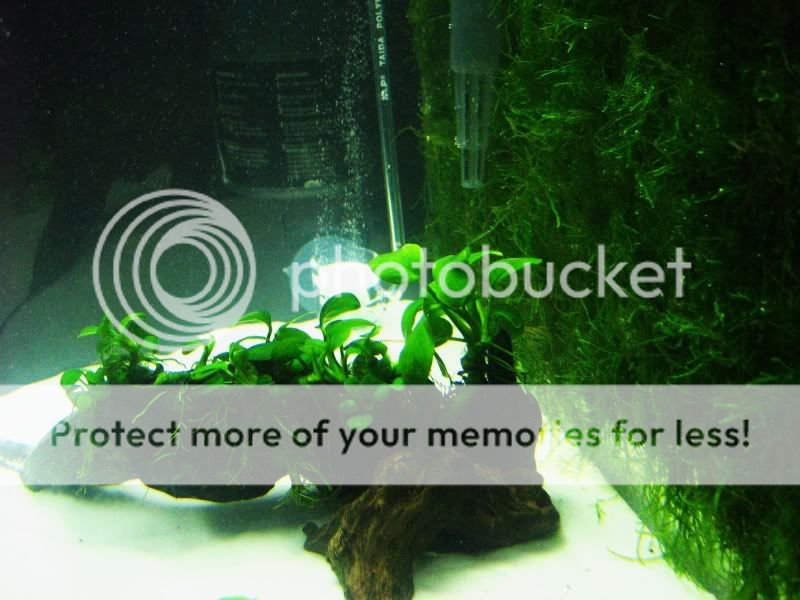
Here's a photo of the wall from the back of the tank. You can see the gaps. I had purposely made it a little thin, especially in the bottom.

The moss wall as of December of last year. You can see how thick it got.
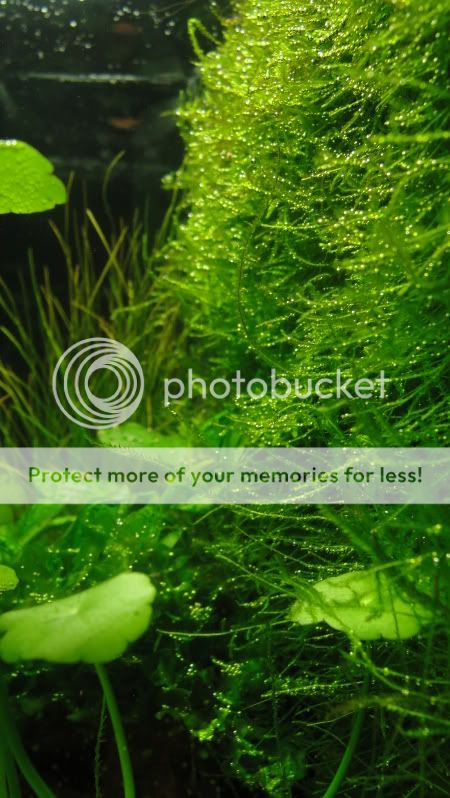
Moss walls can get too dense. Light and circulation is cut from the interior of the wall and yellowing and browning can occur. This can also happen towards the bottom of the wall as well. I found this out for myself when I finally got around to doing a serious trim yesterday. The great thing about this method is that the moss wall can be completely removed from the tank and you can then trim the moss out of the tank rather than bend down and try to trim the wall inside. By removing the wall from the tank, I was able to get a close, careful trim with my pruning shears without damaging any livestock or possibly miscutting and damaging the moss. When I take more photos, I'll post pictures of the trimmed wall. There were some dead spots, so I might have to invest in some more moss. I waited too long between trims. What can I say, I was extremely busy. This is easly fixed with a couple more portions of moss. It looks like the moss will also make a complete recovery.
Overall, I am extremely pleased with this moss wall. I will definitely do more and I am considering another wall on the other side of the tank. The best thing was that the wall wass essentially done and photo-ready from the beginning rather than having to wait for a wall to peek through.
If you have any questions or comments, I'll leave this thread open. Sorry for the length, but I am thorough. Thanks for looking.
llj
Setting up a Moss wall: The Insta-Wall Approach!
The Moss wall is used in many types of layouts. It creates a dense, living background that is three-dimensional. Moss walls are appreciated by shrimp, other invertebrates, and small fish. There are other very effective ways to make a moss wall. I read the posts in this Moss Wall Thread and three things stuck out as being potential problems.
1. Fish get stuck and die behind the two pieces of mesh, or get stuck between the mesh and the glass because of the gap left by suction cups. Doesn't really happen much though.
2. The moss takes forever to grow between the mesh. For me, this is because the moss is overly shaded, especially if one uses dark mesh. Or...
3. Lack of circulation between the mesh, causing poor growth because the moss cannot access the same amount of nutrients because of the restricted flow between the mesh.
I'm not saying that I solved these issues, but I do notice that my wall took much less time to establish itself and the growth seems quite thick. This method is also probably more expensive. I used this dank divider that I purchased at my lfs.

I've used this to divide tanks before (when I was breeding kribensis and keeping bettas) and in some cases, mosses actually naturally grew on the divide.
Another feature that makes this idea interesting. The stainless steel clips, which are harmless and come with the divider.

Unlike suction cups, which leave gaps between the glass and the mesh, these inert clips hold the divider flush against the glass, with no gap. Fish cannot get through. Couple this with the substrate holding the divider in the bottom, you have a gap-free wall that is transparent. Below is a picture of the tank with bare "moss wall" secured in place.

As you can see, there are numerous, evenly distributed holes. The method involves gently sewing the moss onto the wall by using a needle and fine-test, lead-free fishing line.

It is particularly well-suited for making knots and twisting, which is precisely what I want it to do. It is also strong and won't degrade. It is transparent, so it will be hard to see, yet it has a green tinge, so it will blend with the moss once it grows in. Be sure to get lead-free test.
Advantages to this method include.
1. Most of the moss is actually exposed to the water column rather than wedged between two mesh pieces and can take advantage of full lighting, circulation, and nutrient distribution that the tank has to offer. This allows it to become established faster.
2. Because I'm using metal clips to attach the wall, there is no gap between it and the glass, and I significantly reduce the possibility of fish deaths or accidents.
3. The wall is less bulky and much more mobile. I can build the wall outside of the tank and then just slide the wall into place. I also don't have to worry about 2 pieces of mesh and the wall does not interfere with tank hardware.
4. The entire aquarium back wall can be covered, barring the space below where the wall inserts into the substrate. That is some thick coverage.
5. The equipment used is very small, and not invasive. No giant suction cups, no bulky mesh, no stand-out plastic.
Possible disadvantages.
1. DO NOT USE THIS WITH A HEATER!!! The divider is plastic and can melt if put in contact with a heater. My tank is unheated.
2. Your moss may not attach to the wall. If you have the moss on the rough side of the divider, then yes, portions will attach. If you attach on the smooth side, then probably not. The moss, however, does remain attached via the fishing line.
Adding the Moss to the Wall
For the construction of this wall, I had 21 portions of Weeping moss from Aquaticmagic. I had a lot leftover. A typical bag of Weeping moss.

I'll tell you, putting up the wall took the better part of an afternoon and evening :jawdrop It was tedious work, but I was quite pleased with how it had turned out. It was difficult finding a needle with a small enough eye to pull line through the holes, yet with a large enough eye to actually fit the thread. I went through about 3 needles and just plain threading with my fingers before I finally found a needle that worked well. I placed a desired piece of moss on the divided and then sewed it in place using the fishing line. I would continue to lay moss and secure by sewing until I ran out of line. When I ran out of line, I would secure the line with a knot and refit the needle with more fishing line. To keep the moss fresh, I fitted a ceramic mister with tank water and spritzed the moss as I worked. When I needed a break, I submerged the wall into the tank. A progress shot.

I didn't need very much to get good coverage, and you can see from above, that there are places where you can definitely see through the moss. The fishing line performed very well. It's almost an insta-wall, depending on how much you cover. A shot of the completed wall.

Here's a photo of the wall from the back of the tank. You can see the gaps. I had purposely made it a little thin, especially in the bottom.

The moss wall as of December of last year. You can see how thick it got.

Moss Wall Maintenance
Moss walls can get too dense. Light and circulation is cut from the interior of the wall and yellowing and browning can occur. This can also happen towards the bottom of the wall as well. I found this out for myself when I finally got around to doing a serious trim yesterday. The great thing about this method is that the moss wall can be completely removed from the tank and you can then trim the moss out of the tank rather than bend down and try to trim the wall inside. By removing the wall from the tank, I was able to get a close, careful trim with my pruning shears without damaging any livestock or possibly miscutting and damaging the moss. When I take more photos, I'll post pictures of the trimmed wall. There were some dead spots, so I might have to invest in some more moss. I waited too long between trims. What can I say, I was extremely busy. This is easly fixed with a couple more portions of moss.
Overall, I am extremely pleased with this moss wall. I will definitely do more and I am considering another wall on the other side of the tank. The best thing was that the wall wass essentially done and photo-ready from the beginning rather than having to wait for a wall to peek through.
If you have any questions or comments, I'll leave this thread open. Sorry for the length, but I am thorough. Thanks for looking.
llj


