Crazy fishes
Fish Addict
- Joined
- Jan 21, 2008
- Messages
- 873
- Reaction score
- 0
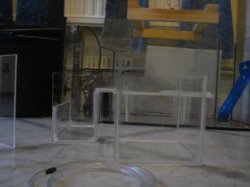
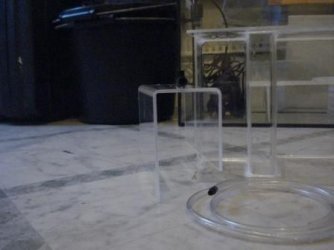
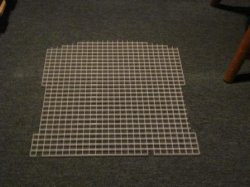
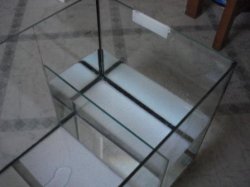
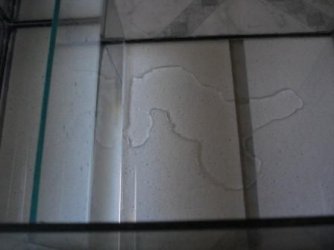
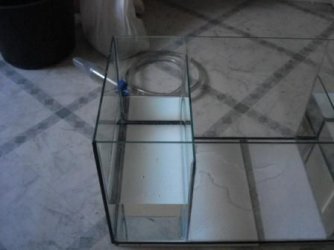
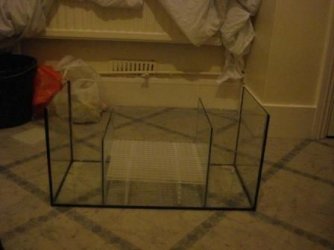
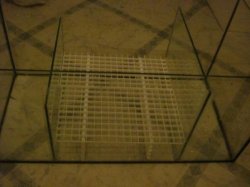
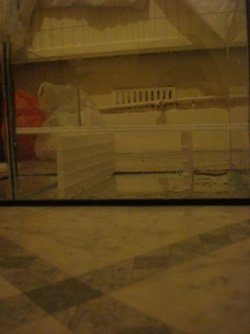
The last week has been a flurry of activity around my tank as I prepare to make some changes. Two major changes are going to occur simultaneously in the tank; lighting and filtration. Firstly I will be changing my 2x 36W PC hood for a 150W metal halide. As one tank inhabitant is a little on the skittish side and has previously attempted suicide with a dramatic leap from the tank to plummet 3 ft landing on the carpet; I believe some kind of lid is necessary. I found a store where I can purchase eggcrate and have successfully crafted a tight-fitting lid from it. The remainder will be used in the filtration;explained later. For the transition I will need to gradually decrease the distance the halide is from the water surface. I propose a small wooden frame from which the halide can be suspended until the desired height is reached. Ultimately I want the unit on legs much like the sunpod or the arcadia luminaires. The unit is on order and I have recently reported using an extra 36 watt 50:50 PC tube to help acclimatise the corals to the extra light. I have already notice a difference in my corals; they seem more vibrant. Any ideas on starting height from which the halide should be positioned at. Also 8 hour photoperiod is what I was thinking, is this ok? The second change is the addition of a sump on to my 24g. The design I am going to use is something I saw on reefvideos.com by a guy who customises tanks. He calls it a duplex sump system where the refugium is split into two layers by eggcrate. The top layer has macroalgae which is exposed to faster flow while the bottom layer is a benthic zone. The inlet can accomodate a protein skimmer if wanted. I was thinking something like the V2 nano or possibly the V2 400 which may be a little OTT but none-the-less enjoyable  !!! The outlet is a 1700 Newjet which has the option of decreasing flow to 600gph if needed. The sump will be fashioned from a 60x30x30cm (2x1x1ft) juwel aquarium, which I was given by a friend. I have given it a good scrub with vinegar, then thoroughly raise with tap water and allowed to drip dry. The seals were in good condition but I resealed with silicone to be absolutely sure. Tomorrow I will mark out where the baffles will go. I was thinking a 6" outlet section with a foot for the refugium/benthic zone and a 6" inlet. Final decision tomorrow though. The only thing I have not covered is the overflow box which is really important but also posing the biggest problem. This I will have to fashion myself out of some acrylic. I was looking at the aqua medic design and looking to modify that somehow. Alternatively I have seen some design on ebay which may be candidate designs to copy/modify. I have attached a few pictures of my activities
  , not that exciting but none-the-less progress.
Anyway more when I have news
Regards
 !!! The outlet is a 1700 Newjet which has the option of decreasing flow to 600gph if needed. The sump will be fashioned from a 60x30x30cm (2x1x1ft) juwel aquarium, which I was given by a friend. I have given it a good scrub with vinegar, then thoroughly raise with tap water and allowed to drip dry. The seals were in good condition but I resealed with silicone to be absolutely sure. Tomorrow I will mark out where the baffles will go. I was thinking a 6" outlet section with a foot for the refugium/benthic zone and a 6" inlet. Final decision tomorrow though. The only thing I have not covered is the overflow box which is really important but also posing the biggest problem. This I will have to fashion myself out of some acrylic. I was looking at the aqua medic design and looking to modify that somehow. Alternatively I have seen some design on ebay which may be candidate designs to copy/modify. I have attached a few pictures of my activities
  , not that exciting but none-the-less progress.
Anyway more when I have news
Regards

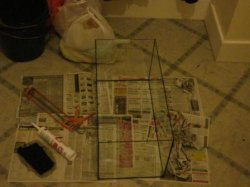
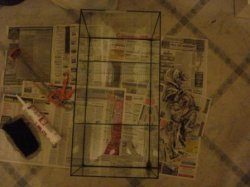


 ). Anyway been building the overflow box and I must say for my first attempt it is working out quite well