Supercoley's Diy Led Luminaire Mk Iii

SuperColey1

Planted Section
Joined
Oct 30, 2006
Messages
4,952
Reaction score
32
Location
Lincoln, UK
A little belated this thread but I thought I would add this as I have now started using it.  The start of this project was May 2012.  you can see the year on each picture
smile.png

 
[SIZE=11.5pt]This is a little belated but I thought I would add it [/SIZE]

[SIZE=11.5pt]The MkII version was still working well after 3 and a half years. It hasn't been ditched. All the electrics and LEDs have been re-used in my emersed cupboards meaning that now all 11 of my aquariums are lit by LED.

Originally I was looking for a slimline unit and planning on either using MDF (painted white) or using some steel sheet that I have left over from another project. First I found the TMC modular mounting with the tiles and thought something similar but then.........I stumbled upon the 'Vitrea Bridge' and instantly fell in love with it.
[/SIZE]
 
ledconmarchiorr3.jpg


[SIZE=11.5pt]With the Vitrea costing circa £1000+ for my size I decided to try and do something myself whilst using the Vitrea's design to house my electrics. Mine will have much less LEDs and wiring is a lot cruder. I will be using 3 seperate plugs each going to a driver that runs 6 x 3W. A total of 18 x 3W LEDs. Of course mine won't have the controller or anything techincal either.

Rather than a glass sheet I will be using acrylic.

So with the design decided upon I drew up a plan of where I want the LEDs over the tank and then came to the measurements of the acrylic piece I will be needing.
[/SIZE]
 
DSCF3089.JPG


[SIZE=11.5pt]The Opti-white is 80cm x 40cm and the acrylic are for the lighting is 60cm x 28cm. Adding 3 cm to each end to fit in the 'brackets' I ordered a 12mm thick piece of acrylic with the dimensions 66cm x 28cm.[/SIZE]

[SIZE=11.5pt]When the acrylic sheet arrived I set to work on it, drawing out the LED positions and then routing some 21mm holes for the lense holders to fit in.[/SIZE]
 
DSCF3090.JPG

 
DSCF3091.JPG

 
DSCF3092.JPG


The holes now routed ready for the lense holders I started to polish the edges of the sheet as well as the holes that I just routed.
The pictures below show how the sheet looked from P240 right through to P1200 and then using some car scratch remover. You can clearly see my keyfob through 28cm of acrylic. Even through the full length of 66cm you can see through it although very distoted.
Also all the lense holes are now looking great through the edge of the acrylic sheet.
 
DSCF3096.JPG

 
DSCF3097.JPG

 
DSCF3101.JPG

 
DSCF3105.JPG

 
DSCF3112.JPG

 
DSCF3119.JPG

 
DSCF3120.JPG

 
DSCF3121.JPG

 
DSCF3122.JPG

 
DSCF3123.JPG

 
DSCF3124.JPG

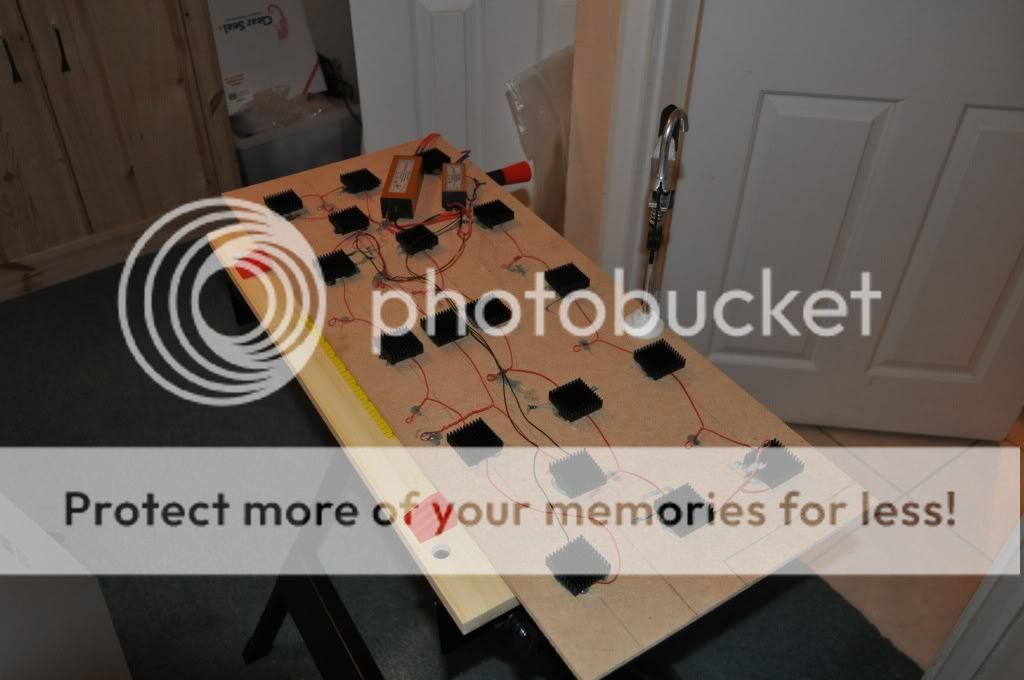
With all the electrics now wired up and tested (sorry no photos of it working) It was time to line up the heatsinks. Because the LED stars have to line up perfectly with the lense holders I am using a thermal adhesive on the rear of each star and then pushing the heatsink down onto the stars whilst they are in position.
You can see just how slimline this unit is. The MDF above and below is 18mm. There is a 2mm or so gap between the heatsink and the acrylic which means you do see some of the 'ugly insides'. I will be adding a piece of aluminium strip attached to the front heatsink to hide this gap. This strip will be the depth of the heatsink + 2mm to hide the gao. It will look like it is part of the heatsink.
 
DSCF3136.JPG

 
DSCF3137.JPG


The heatsinks are now stuck to the back of the stars and looking good. The aluminium strip is not added yet. This unit looks really slick already and you can see how so with it on top of my fruitbowl.
I now set about designing my brackets. These will be made in 3 sections:
The first and second will be a sandwich of 3 x 12mm pieces which are 28mm wide, the same width as the the acrylic sheet.
The first of these sandwiches has the centre piece 3cm set back from the top and bottom pieces and will take 3cm of the end of the acrylic sheet.
The second of these sandwiches has the centre piece 2cm set back from the top and bottom pieces and will slip over the rim of the aquarium.
The third piece is the curved 'arm' that sits at the front rear and centre between each sandwich.
 
DSCF3140.JPG

 
DSCF3141.JPG

 
DSCF3142.JPG

 
DSCF3145.JPG
 
The 3 sections are now cut and they are tested structurally. By that I mean that they are merely placed into position with no glue at all. The sandwich placed on the rim. The angles placed on the bottom sandwich and then the acrylic sheet with the upper sandwich is rested on top.
It stands up perfectly merely from the downward pressure of the acrylic sheet and it's electrical content. So the pieces are glued together and the whole unit is left to set in position. This will also make sure that there is no warping. It would be very annoying if when set this unit wobbled. I would rather have to work on the brackets afterward if they don't line up perfectly in terms of my planning. The most important thing is that the sandwiches are in the correct places.
 
DSCF3150.JPG

 
DSCF3155.JPG

 
DSCF3156.JPG

 
DSCF3157.JPG

 
DSCF3173.JPG

 
DSCF3174.JPG


I've now started on shaping the brackets. A lot of sanding involved. Once I have the smooth curves sorted I will be adding wood filler into the corners where the angle meets the sandwich so that I can get it to flow from each section into another.
 
DSCF3199.JPG

 
DSCF3200.JPG

 
DSCF3202.JPG

 
DSCF3203.JPG


IT IS NOW SEPTEMBER 2012
 
 
I decided to fit the unfinished brackets to the unit just to see how it looks.
 
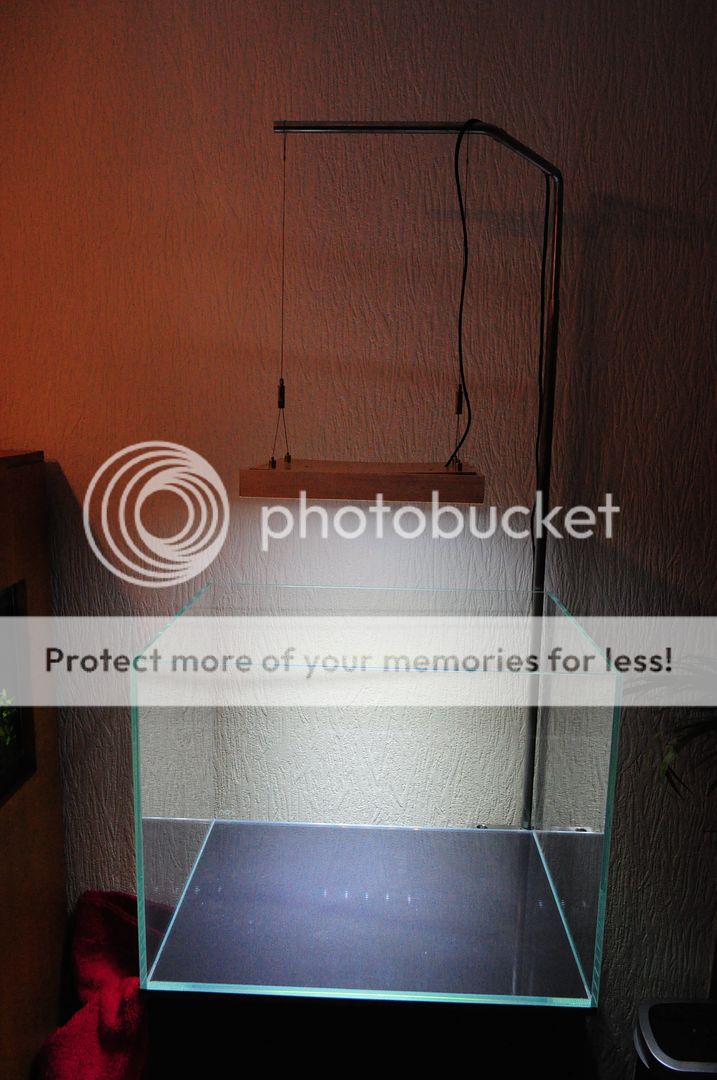
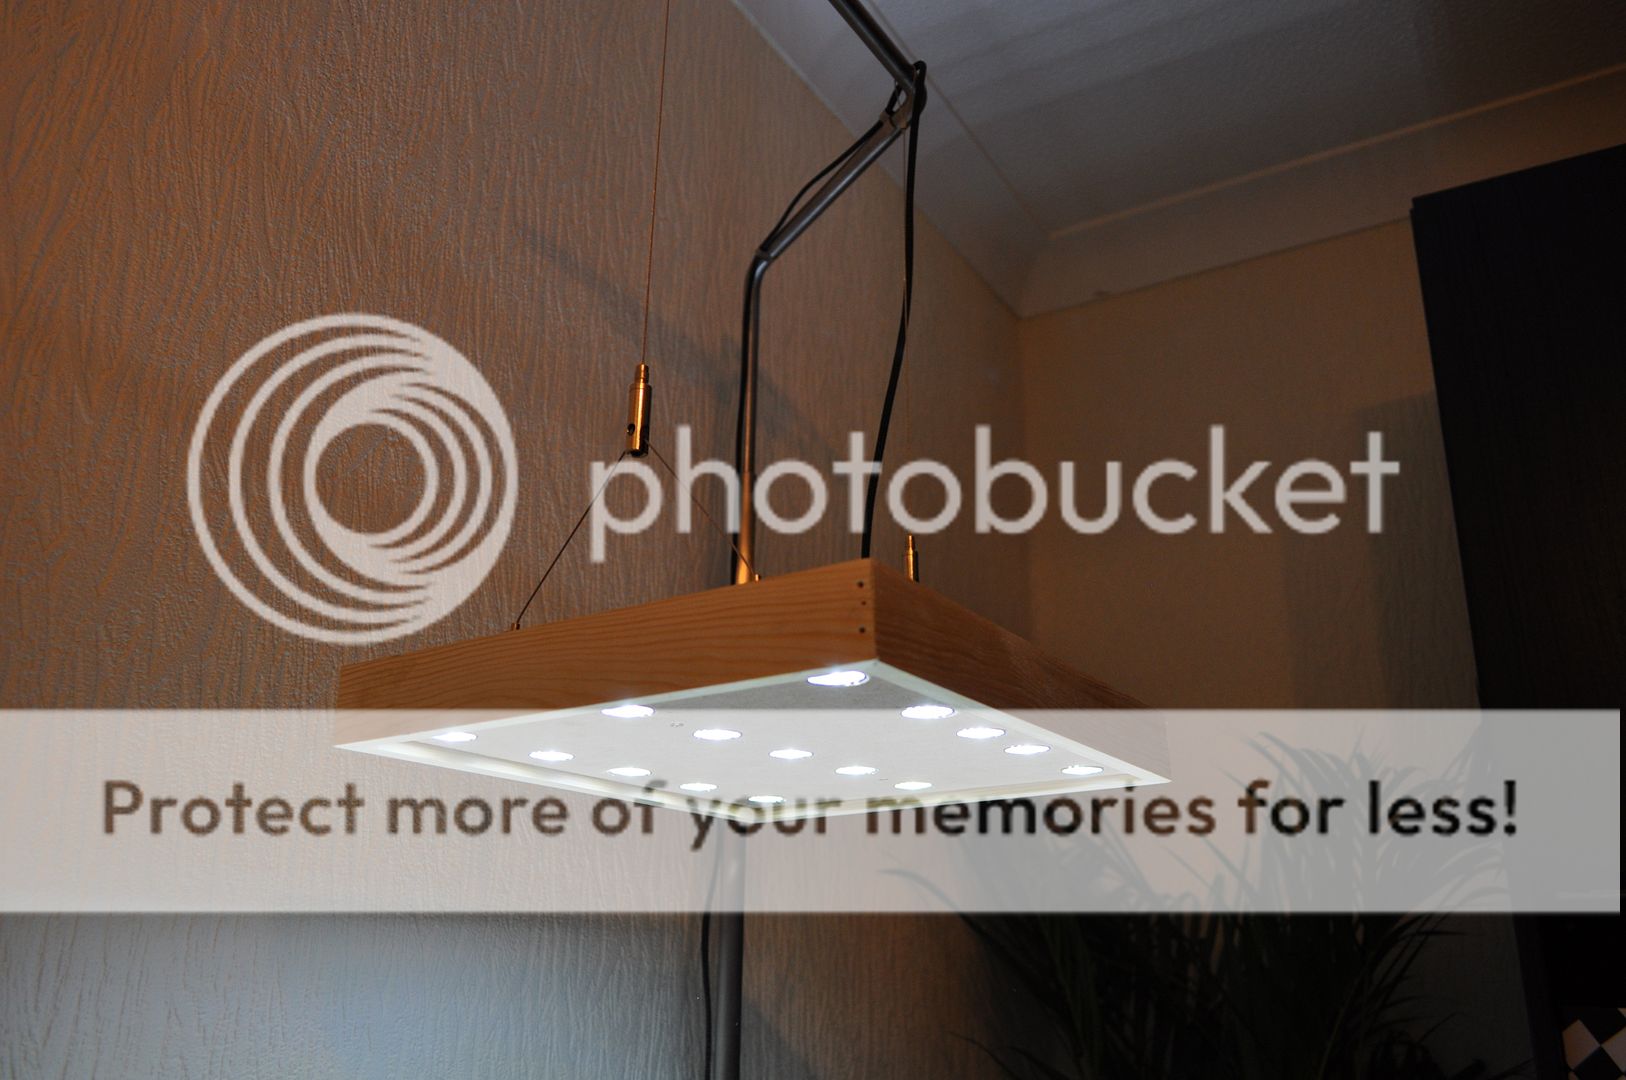
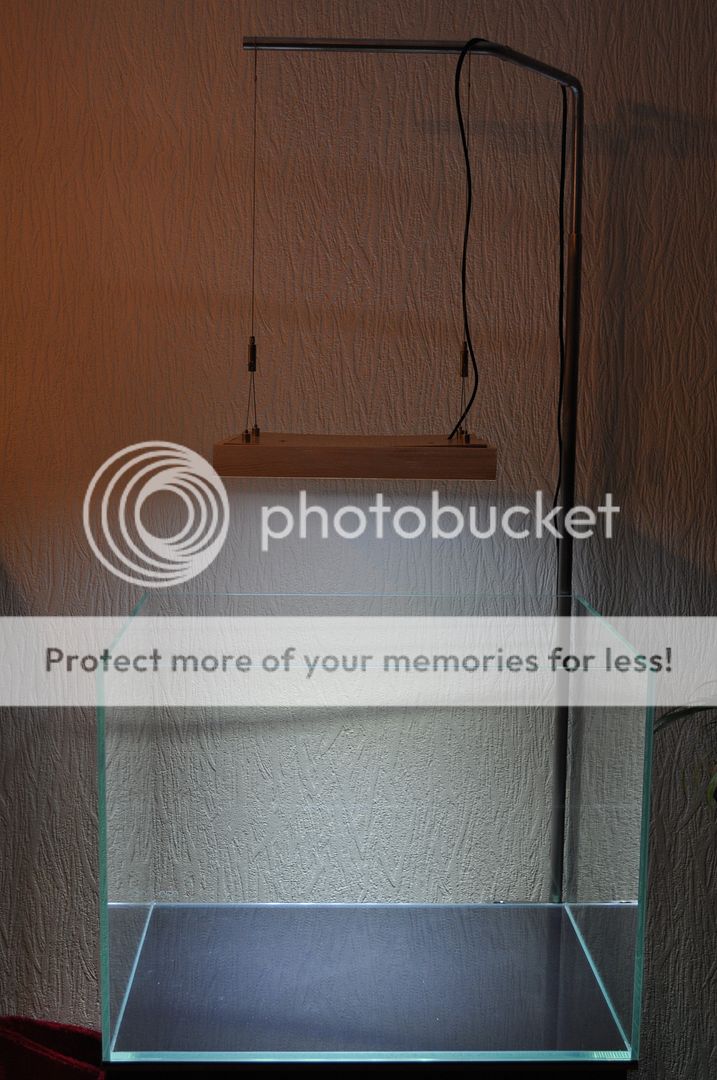
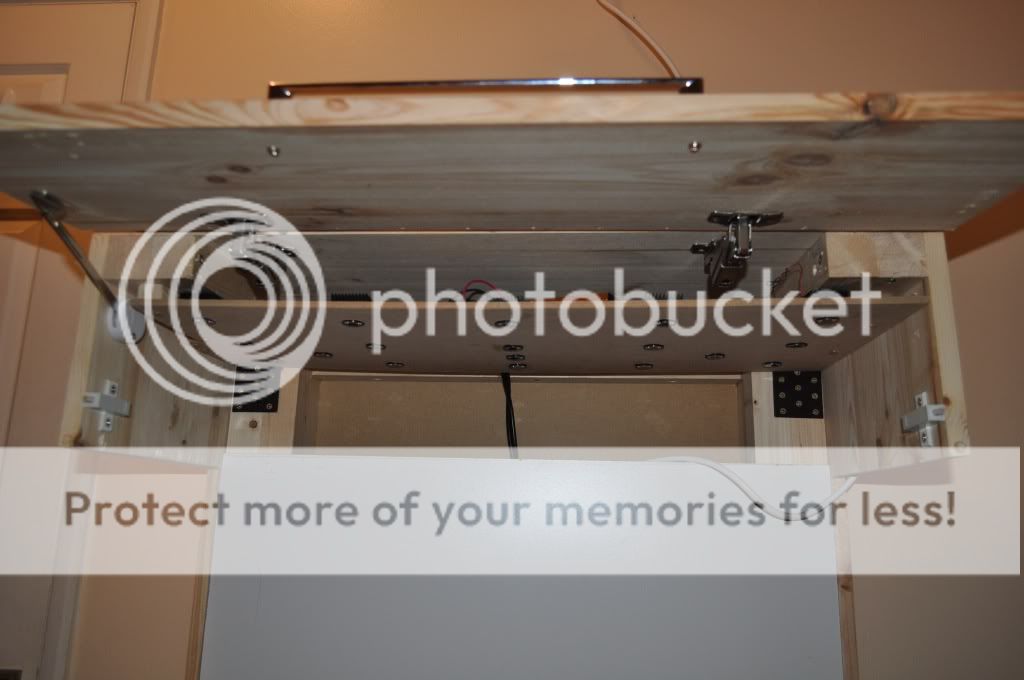
It's pretty much finished in terms of the actual unit however the brackets still need a little filling work and painting plus the 'power cord' is not seated into the bracket yet. On the right hand bracket the cord feeds into the right hand bracket on top of the acrylic and then comes out of the back of the bracket. In these pictures you can see the 'power cord' trailing over the front of the light unit.
 
Also the aluminium strip on the front heatsink hasn't been added yet so you can see the 2mm gap between heatsink and acrylic. I think it looks cool so far.
 
So nearly there bar the cosmetics
 
Picture%20008.jpg

 
Picture%20009.jpg

 
Picture%20010.jpg


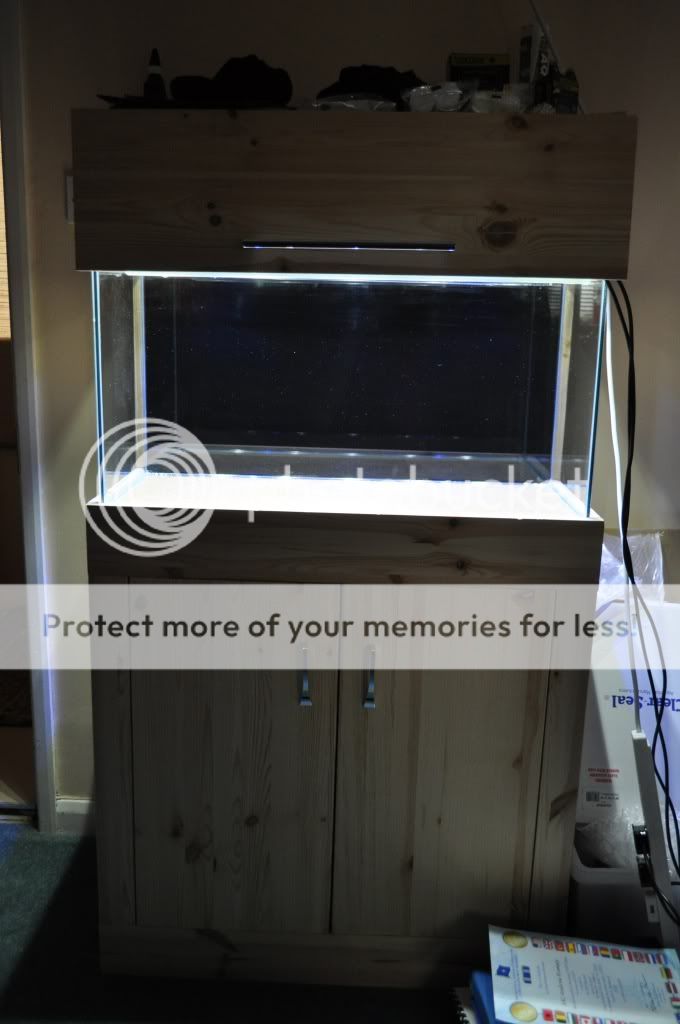
Over 2 years since this LED unit was finished it is now finally in action. I should add that during the year I altered the wiring in the unit.
Originally I had wired it to work as 3 seperate sets of 6 LEDs from left to right. That meant I could turn the left 6 on, then the centre 6, then the right 6 and create a sunrise and sunset effect.
 
However I decided to do away with that idea and go for a bit more flexibility with what I can use the light for. I wanted to be able to use more or less light over the tank if I wanted and for that I need the lights to be in linear banks across the length of the tank rather than only having the flexibility of having one side turned on with the rest of the tank in the dark.
 
So now the central row of lights are on 1 driver and the front and back rows are on a seperate driver. This means I can use low light by just using the central bank of LEDs or medium to high light by using just the front and back with the central light turned off or I can use super high light by using all 3 rows.
 
The luminaire is now in action over my 140 litre aquarium which is in it's initial 4 weeks DSM stage. I am using all 3 anks of LEDs and will probably continue with all 3 when I flood the aquarium as this will be a hi tec setup with full CO2 addition.
 
IMG_0992.JPG

 
IMG_0994.JPG

 
IMG_0996.JPG

 
IMG_0997.JPG
 
Beautiful lights and a excellent DIY project.
 
Really considering doing something like this.
 
Great inspiration :)
 
wow this is awesome i am very impressed i did something verysimialr and use the same LEDS on my tanks, altho in a different design, i use 15x3w LEDS on both my 88L and 122L tank which is a high light enviroemnt altho i will be changing my 122L and adding a further 6LEDS to the sides, but here is some pics
 
my 122L Iwagumi tank suspended 15x3W LED's on one 54W driver


my 88L using two drivers with Blue LEDS and White LEDs not as pretty as yours but does the job


love how you used acrylic my only concern is these LEDS get HOT!! i mean enough to melt plastic, think i did a temp test and was 60c+ inside my cabinet, also the heat may bend the acrylic i hope this dose not happen altho is a flaw with acrylic as it bends towards heat no matter what thickness it is, there was some since behind it that i read somewhere but i don't think i have it yet but man they look awesome and i would love to try this out some time u have defiantly given me some ideas :D let us know how the acrylic holds up with all that heat, will u be covering them up at any point to hide the heatsinks or cables? using multiple drivers is a great idea, i just use one for mine
 
Zifofski - Are you sure you are not me???  :D  Your pictures remind me of my past:
 
2009 - Mk1 version
compboardfitted.jpg

 
2010 - Mk2 Version
CIMG4787.jpg

CIMG4794.jpg


Zikofski said:
love how you used acrylic my only concern is these LEDS get HOT!! i mean enough to melt plastic, think i did a temp test and was 60c+ inside my cabinet, also the heat may bend the acrylic i hope this dose not happen altho is a flaw with acrylic as it bends towards heat no matter what thickness it is, there was some since behind it that i read somewhere but i don't think i have it yet but man they look awesome and i would love to try this out some time u have defiantly given me some ideas
biggrin.png
let us know how the acrylic holds up with all that heat, will u be covering them up at any point to hide the heatsinks or cables? using multiple drivers is a great idea, i just use one for mine
Yep these LEDs do run hot however I don't think it will be a problem.  These heatsinks are 60cm long and spread the heat out really well.  They are open to the air and will remain so.  That was what I was after when copying the Vitrea (the first picture in this thread.)   It's part of the design aesthetic.
 
I have actually run this unit for days in testing a long while back and it hasn't warped yet.  That was the reason I bought 12mm.  I have some 8mm lids that warp just from the heat of water underneath them :)  If it does go wrong then back to the drawing board but fingers crossed.
 
The Mk1 and Mk2 used 5 drivers :)  Each driver ran a row front to back and came on staggered from one side and turned off staggered too so it was like the sun coming up on one side and setting the other side.  My limited electronic knowledge meant 5 plugs and 5 timers. lol.  This time it will just go middle row on for 1 hour at beginning and end with the front and back on for 6 hours in the middle of the photoperiod,
 
Wow no that is impressive I have been tryng to figure out how to ease the lights on and off, so u have 1 row on for 1hr before the full lot and same for 1hr after is that correct? I think I may try this but If the acrylic design works I may use that on future tanks if u don't mind :) again stunning love the idea and I can vouch 3W LEDs work for high light environment :)
 
Zikofski said:
Wow no that is impressive I have been tryng to figure out how to ease the lights on and off, so u have 1 row on for 1hr before the full lot and same for 1hr after is that correct? I think I may try this but If the acrylic design works I may use that on future tanks if u don't mind
smile.png
again stunning love the idea and I can vouch 3W LEDs work for high light environment
smile.png
 
Feel free with the acrylic idea.  I'm sure others have tried it.
 
Lights on/off seperately is pretty simple.  It's just a case of running seperate series in the same unit.  so 3 timers, 3 plugs to 3 drivers and then each driver to a different string.  This was the Mk1 so 5 different series, 5 drivers, 5 plugs and 5 timers (watch the white extension on the left fill up with plugs picture by picture.)  you may notice I did this one on some scrap acrylic.  I used it as the base and then fitted it into a box afterward.:
room1.jpg

room2.jpg

room3.jpg

room4.jpg

room5.jpg

 
I'll take some pictures of the newer unit with the front and back rows turned off and post up tomorrow.
 
This is amazing supercoley. You certainly have some talent there to say the least. Do you do any architecture or structural engineering as your job? Fascinating seeing your creations from the outset all beginning on the computer. 
 
But yeah, love the tank, great aquascaping skills. 
 
Hope you have more tanks in the pipeline :p 
 
Dandyman3 said:
This is amazing supercoley. You certainly have some talent there to say the least. Do you do any architecture or structural engineering as your job? Fascinating seeing your creations from the outset all beginning on the computer. 
 
But yeah, love the tank, great aquascaping skills.
 
Hope you have more tanks in the pipeline
tongue2.gif
 
Lol.  Nope by trade I am a management accountant although I stopped doing that 15 years ago.  Thats where the spreadsheeting started.  Then I moved into creating access databases and warehouse management.  Then I became an egg packer.  Then I became a welder's mate.  Since then I have been unemployed and then a self employed e-commerce chap
smile.png

 
Sooo No. lol.  You were a bit off there
smile.png
 I am just someone who tries to do things before I say that I can't do them.  You only get to see the successes
biggrin.png

 
No I have no more tanks in the pipeline............I already have 9 running :p
 
SuperColey1 said:
No I have no more tanks in the pipeline............I already have 9 running
tongue2.gif
 
Wow, 9 tanks :)
 
Bet they all look as good as this one .... ;)
 
Ch4rlie said:
 
No I have no more tanks in the pipeline............I already have 9 running
tongue2.gif
 
Wow, 9 tanks
smile.png

 
Bet they all look as good as this one ....
wink.png

 
I only have this large one and another Nano that are 'aquascaped'.  The other 7 are just planted tanks.
 
SuperColey1 said:
I only have this large one and another Nano that are 'aquascaped'.  The other 7 are just planted tanks.
 
Where them pictures hiding at? :p 
 
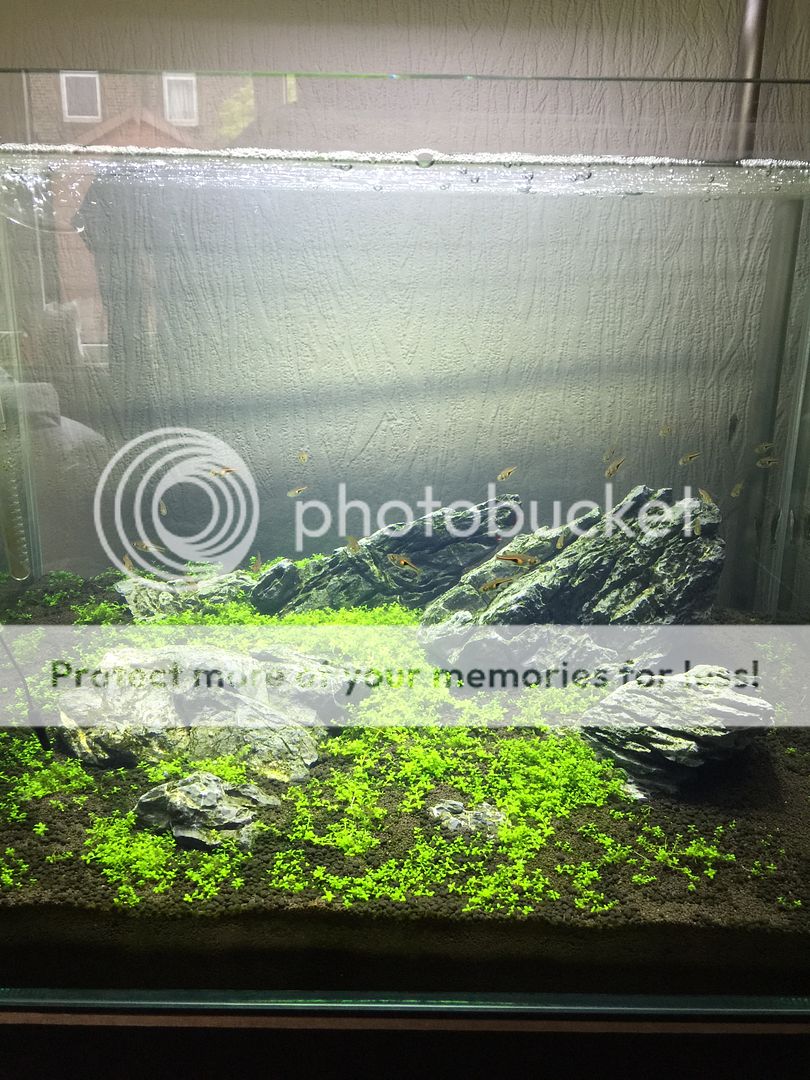
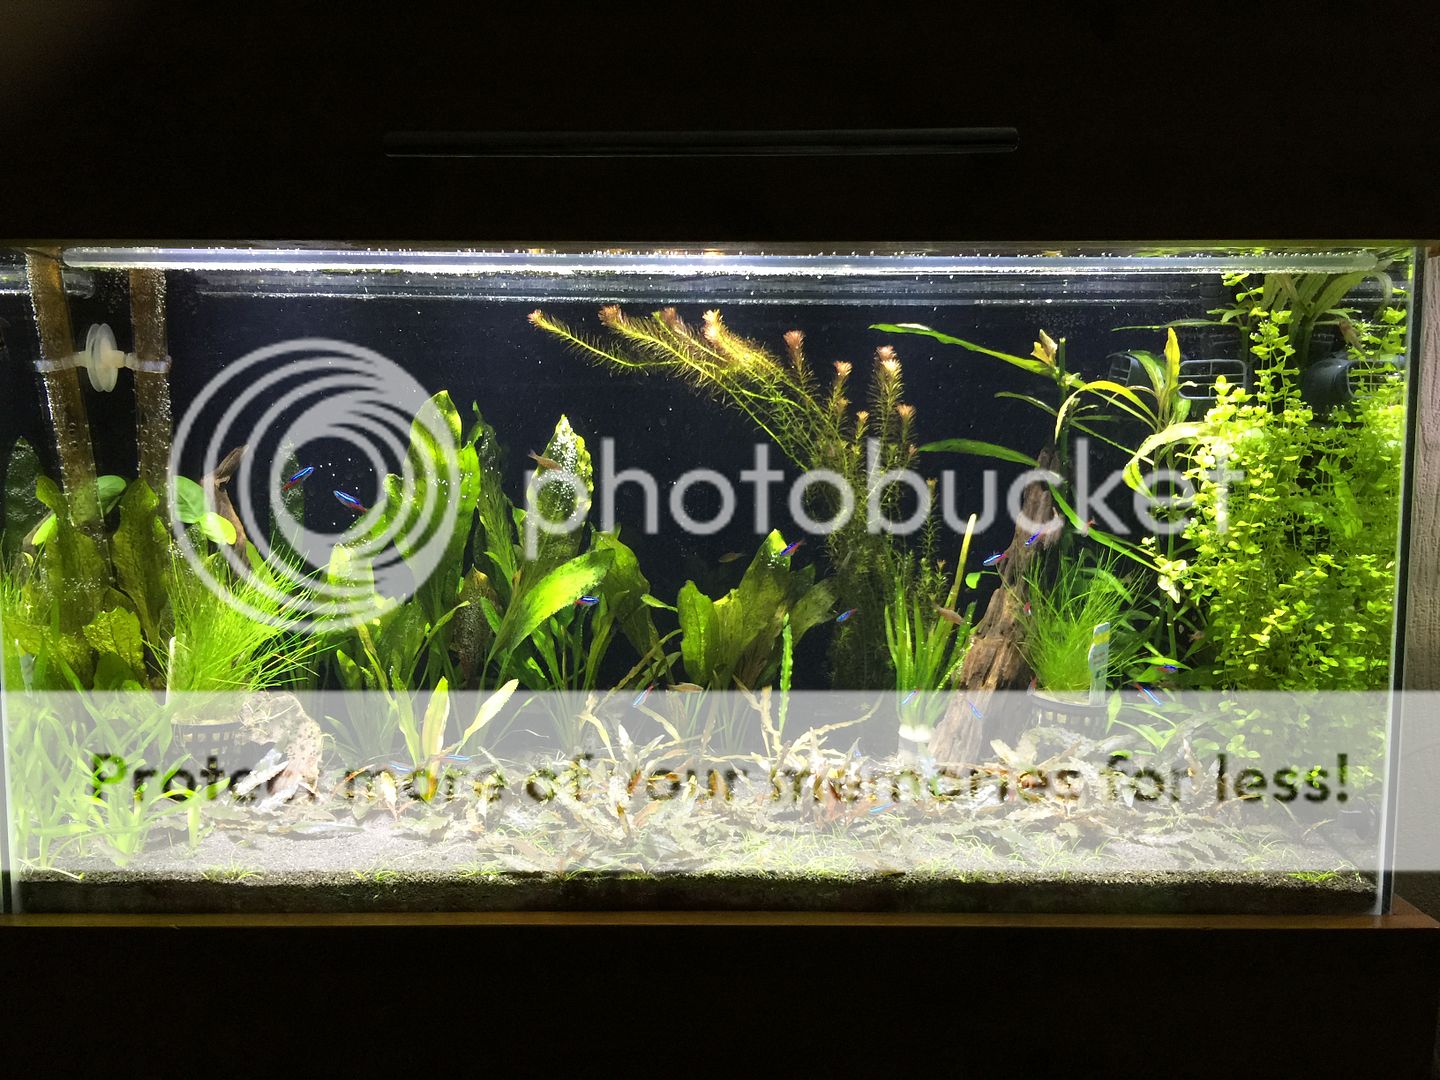
Thought I would add some pics of it working over the flooded scape:
Colorado%20full%202.JPG


My daughter is more interested in the light than the scape. lol:
Colorado%20Daughter%202.JPG
 

Most reactions

Back
Top